How to Draw a Mammoth
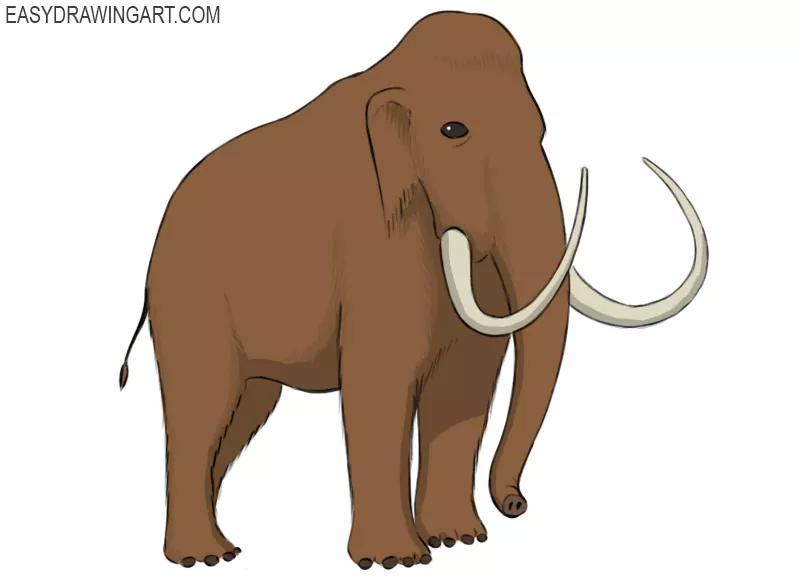
One of the easiest ways to learn how to draw a mammoth is to build the body from a few overlapping circles and simple lines.
This approach makes it much easier to place the trunk, legs, and shoulder hump correctly.
The curved tusks and shaggy coat attract the most attention, but neither will look convincing unless the underlying body is constructed first. A solid framework helps every detail fall into place naturally.
In this tutorial, we’ll show you how to do this, and at the very end, we’ll give you some helpful tips on how to further improve your mammoth drawing.
How to Draw a Mammoth Step by Step
Step 1: Build the mammoth’s basic form
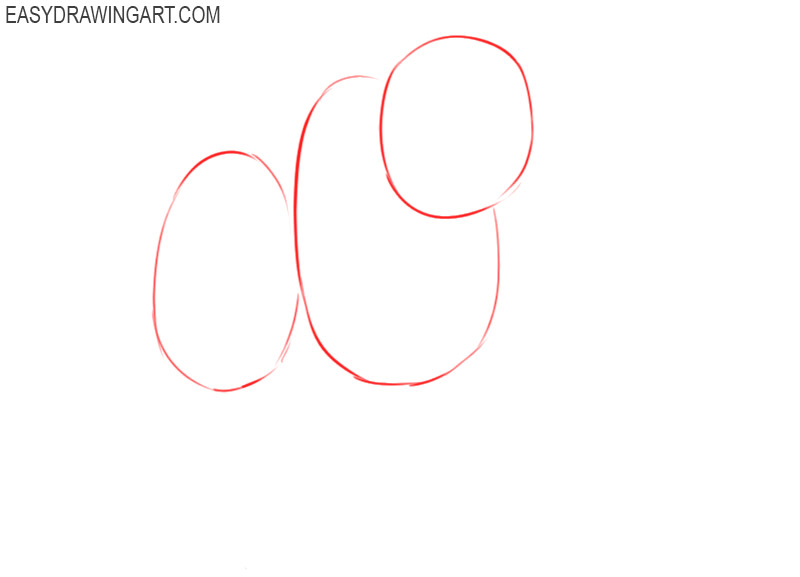
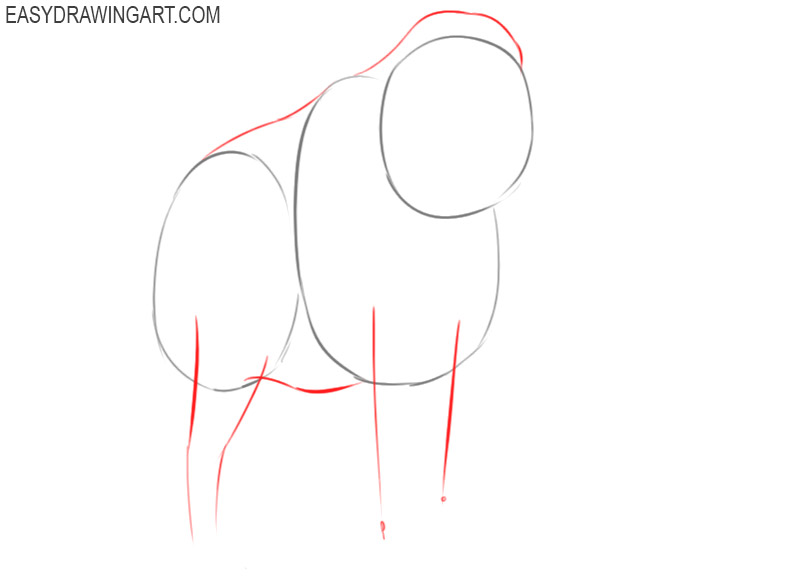
Draw three circles of different sizes for the head, chest, and rear of the body. Place the head above and slightly in front of the largest circle, while the rear circle overlaps the body on the left.
Step 2: Outline the body and limbs
Connect the circles with smooth lines to form the back and belly. Raise the upper contour above the shoulders to form the mammoth’s hump, then use thin vertical guidelines to mark the positions of the legs.
Step 3: Detail the mammoth’s head
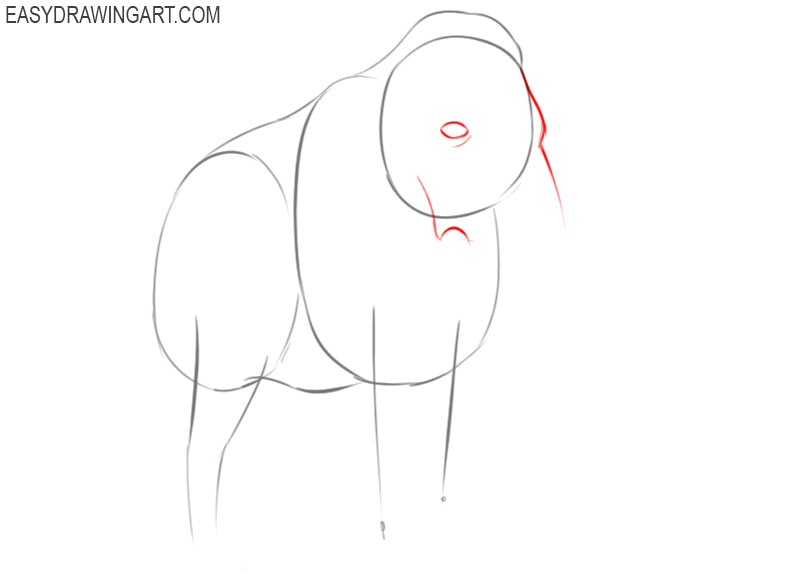
Draw the small oval eye and add a short crease beneath it. Use curved lines along the front and underside of the head to establish the wide base of the trunk and the fold where it meets the face.
Step 4: Sketch the mammoth’s ear
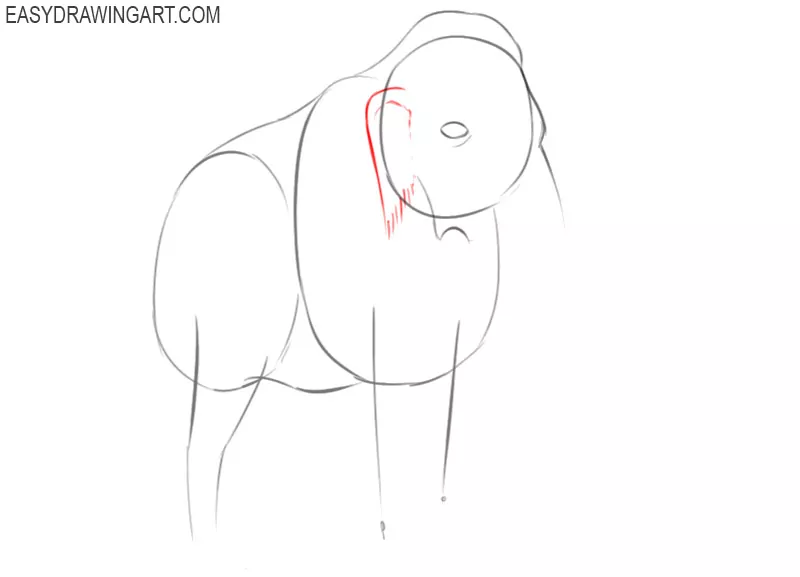
Outline the ear behind the eye with a broad rounded upper edge. Form its lower edge with several short diagonal strokes, then add a few narrow lines near the base to suggest the coarse hair.
Step 5: Draw the long curved tusks
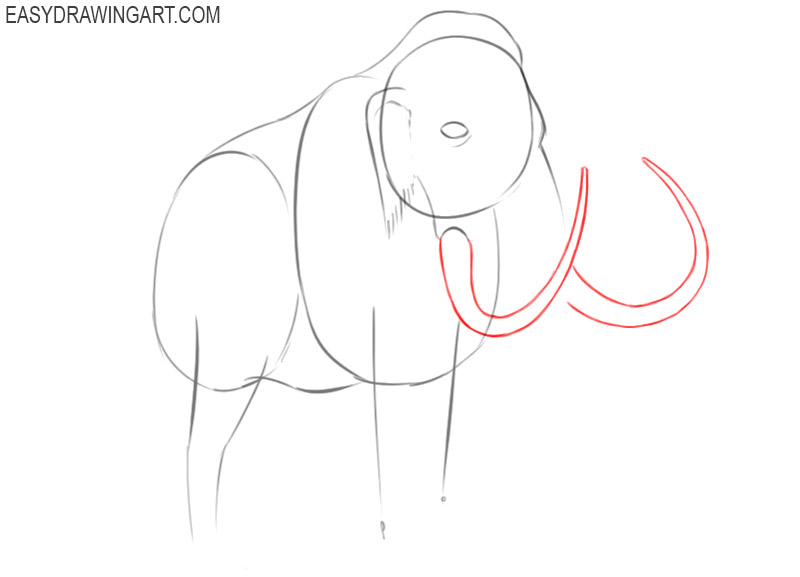
Draw each tusk from the lower part of the head. Keep the bases thick, then taper both shapes as they curve forward and upward. The farther tusk remains partly hidden behind the nearer one.
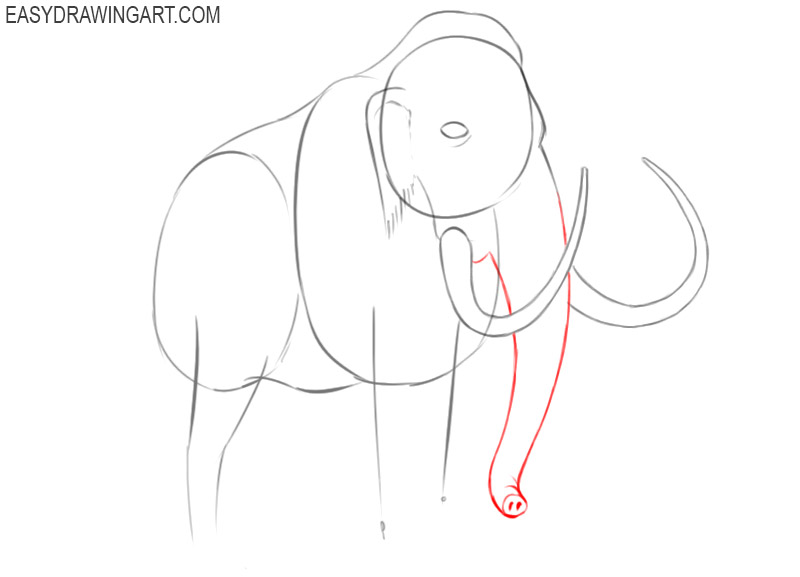
Step 6: Draw the mammoth’s trunk
Extend two smooth lines downward from the base to draw the trunk. Narrow the shape slightly toward its curled tip, then add the nostril openings and the small curved folds around the end.
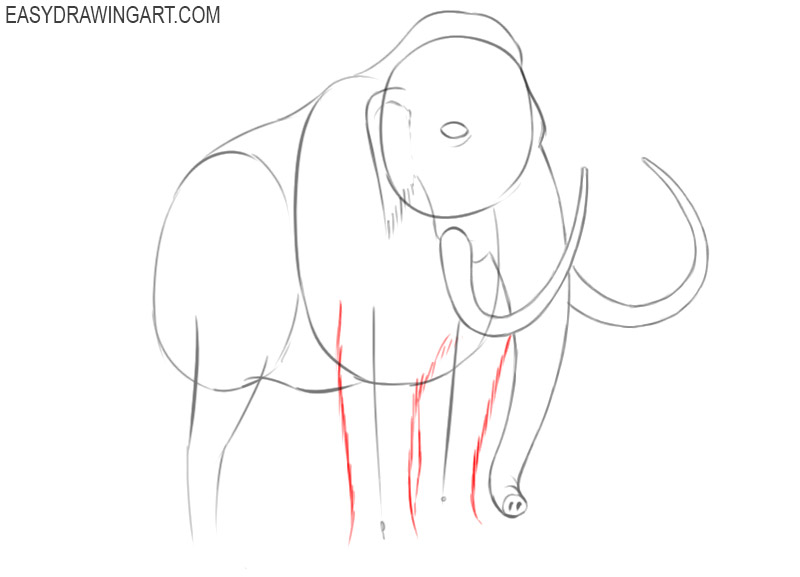
Step 7: Detail the front legs and fur
Use the vertical guidelines to give the front legs their full width. Outline each leg with slightly uneven strokes that suggest long fur, and narrow the contours gently before they reach the feet.
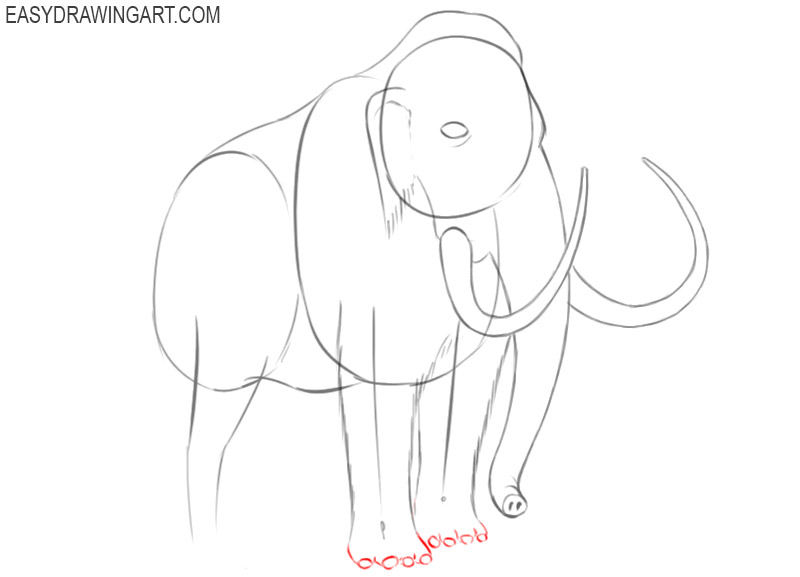
Step 8: Add the front feet and toes
Close the lower ends of the front legs with wide, slightly curved feet. Divide the front edges into several rounded toes, then add a broad nail inside each toe shape.
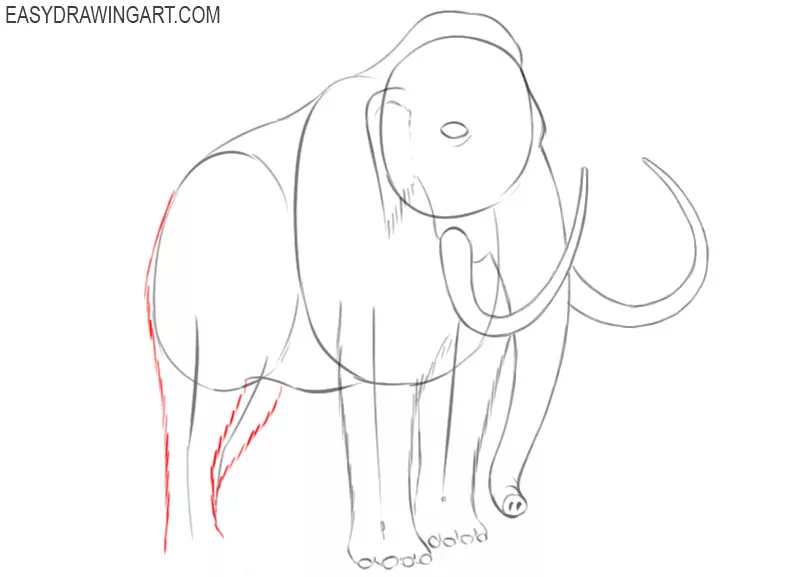
Step 9: Draw the mammoth’s hind legs
Draw the two hind legs close together beneath the rear circle. The nearer leg covers part of the farther one, so leave only its inner edge visible. Use short strokes along both contours to indicate fur.
Step 10: Finish the foot and tail
Complete the visible hind foot with rounded toes and nails. The second hind foot remains hidden behind the front leg. Add a thin tail extending from the rump and finish it with a pointed tuft.
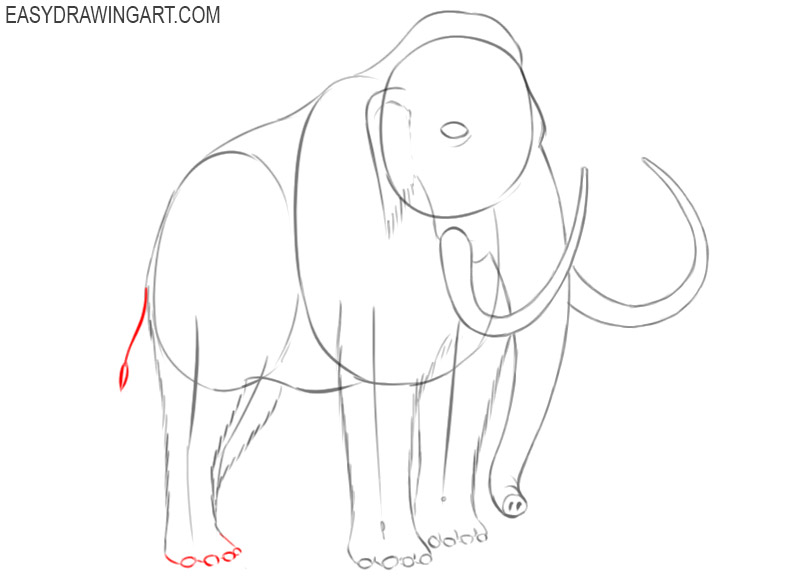
Step 11: Clean up the mammoth line drawing
Erase the circles, leg guidelines, and overlapping construction lines. Darken the remaining contours, keeping the short fur marks around the ear, belly, and legs rather than smoothing every edge.
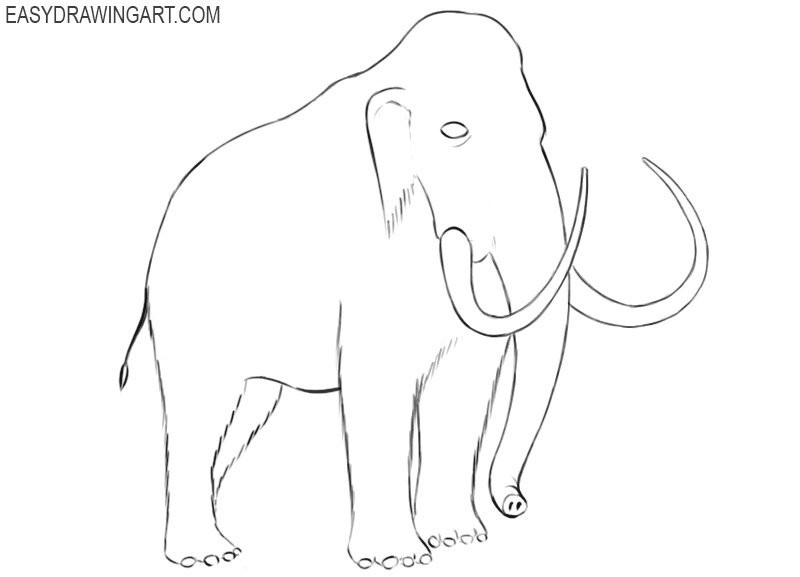
Step 12: Color the woolly mammoth
Color the mammoth’s coat brown and deepen the shaded areas under the belly, ear, and legs with a darker shade. Use pale gray or ivory for the tusks, and leave a small highlight inside the dark eye.
More Information About Drawing a Mammoth
The body should feel heavy even before any shading is added. If the torso looks too light, deepen the curve of the belly and raise the shoulder line rather than enlarging every part of the animal.
The tusks depend on a steady taper. Keep the bases thick near the head, but narrow both sides gradually so the tips do not look cut off or blunt.
Short, uneven strokes work best along the ear, belly, and legs. Covering the entire outline with the same texture would flatten the silhouette and make the fur appear unnatural.
The same construction method also works when drawing an elephant. Lower the shoulder line, simplify the outline, and adjust the tusks to turn the same framework into a different animal.
For another large animal built from rounded masses, continue by drawing a rhinoceros. You can also practice drawing a bison to create a hoofed animal with similar outlines.