

How to Draw a Lynx
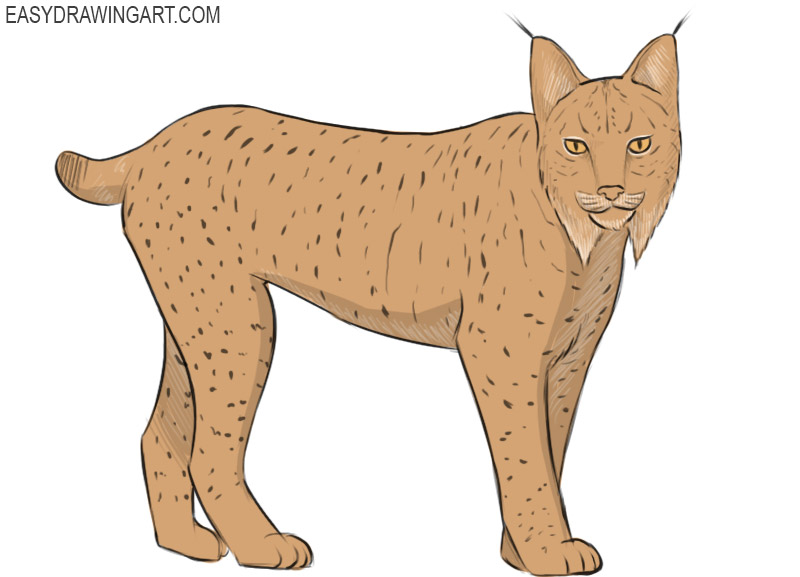
Follow along and learn how to draw a lynx, one of the wild members of the cat family, in just a few simple steps. Practice sketching this forest cat and improve your skills.
The process is simple enough for beginners while helping you understand the basic shape of this animal.
Many of the techniques you practice here can also be applied when drawing other cats. By the end of the tutorial, you’ll have a colored lynx drawing.
Time needed: 1 hour
How to Draw a Lynx
- Draw the base.
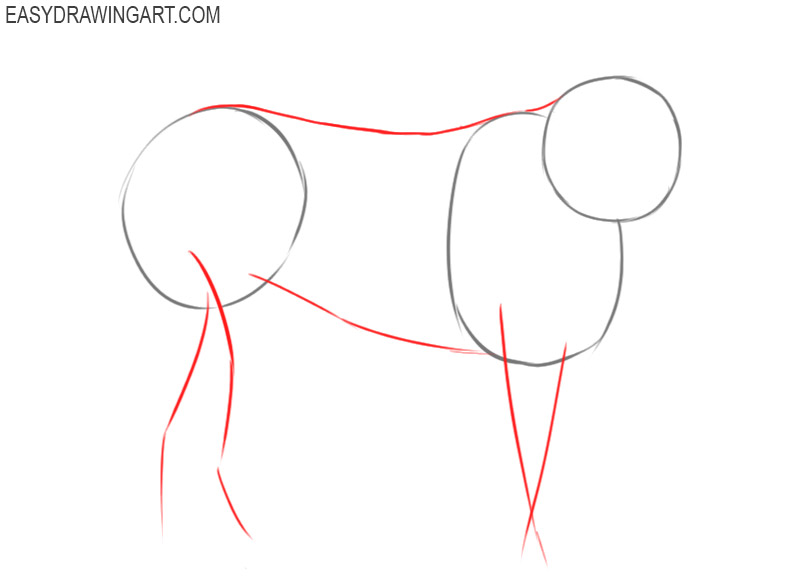
At the initial stage, simple geometric shapes will help you. Draw three circles of different sizes and thus determine the position of the head and torso.

- Depict the outline of the back, belly, and limbs.
At the top, draw a smooth line that consistently connects all the circles and goes into the tail. Define the position of the limbs using thin lines. Add the bottom outline of the torso.
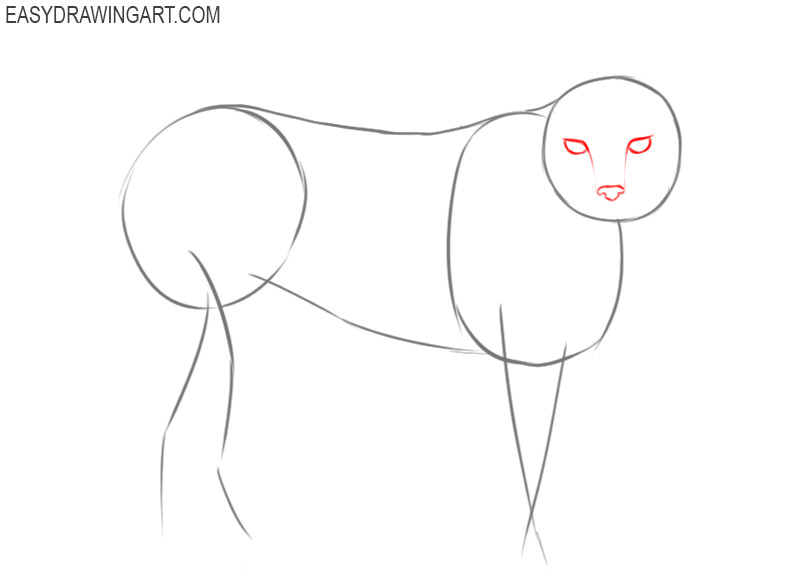
- Add elements of the muzzle.
Carefully draw the eye, which is almond shaped. Depict the nose and with the help of smooth lines draw the mouth.
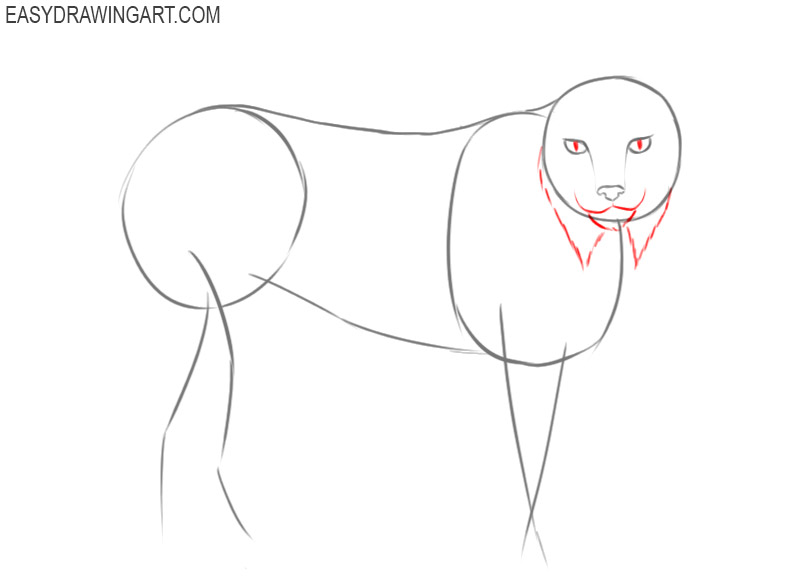
- Sketch out the front part of the muzzle.
Adjust the shape of the head and finish the front part. Draw the protruding parts in the place where the superciliary arch, nose, and chin will be. Add the pupil inside the eye.
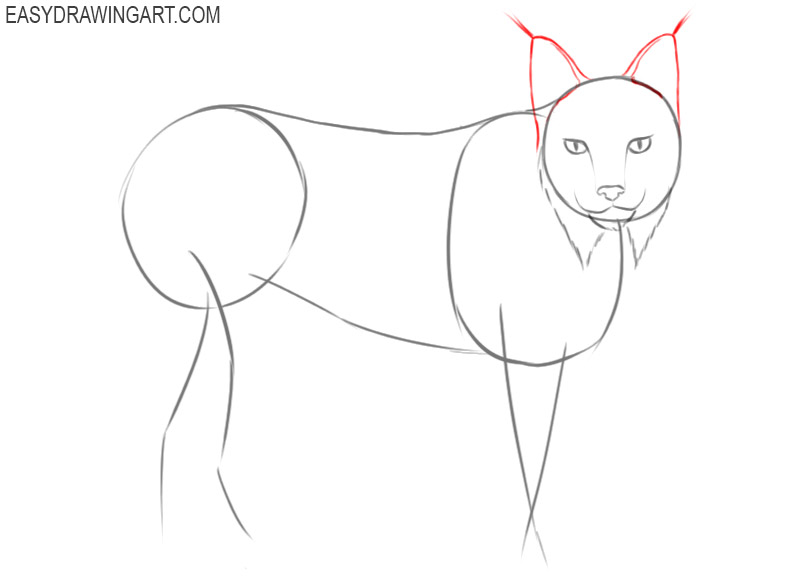
- Depict the ears.
The lynx has round, erect ears. Use smooth lines to draw the outer outline of the ears, and then add the inner part of the ear.
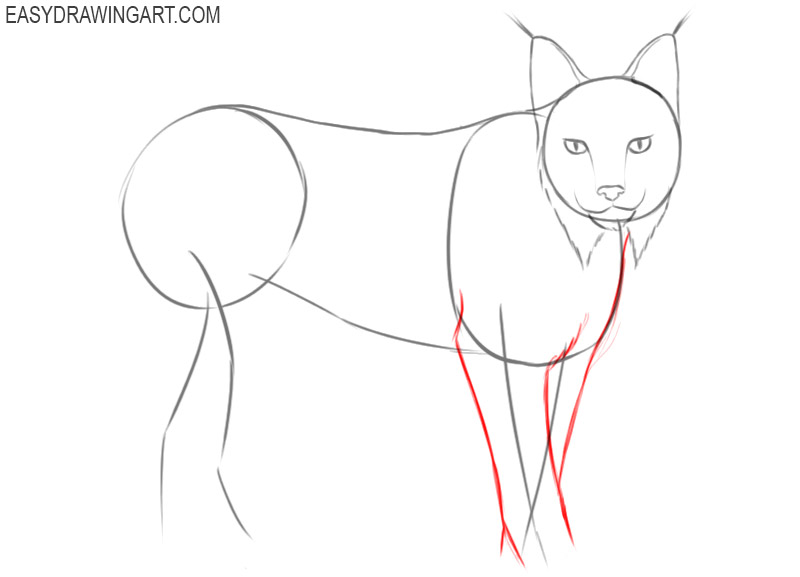
- Draw the front paws.
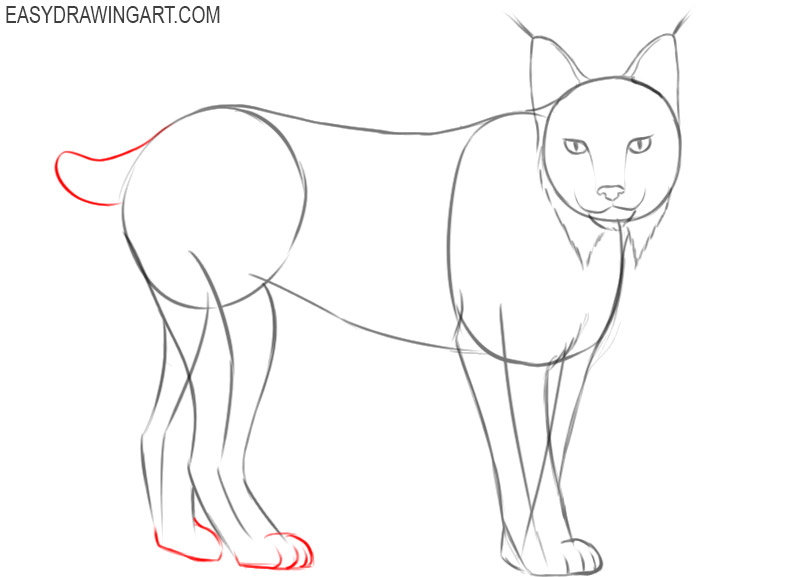
When the upper body is ready, you can move on to drawing the limbs. Use the guidelines that you have prepared in advance and draw the two front paws next to each other.
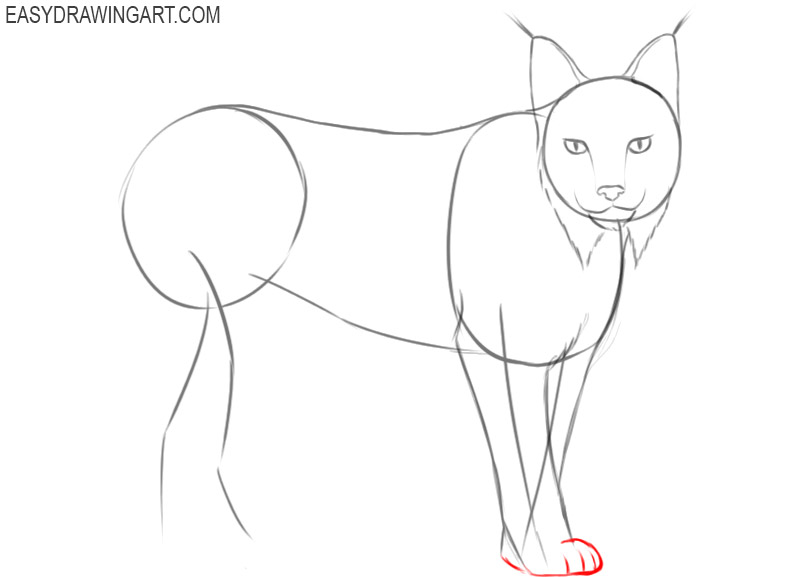
- Add the bottom of the front paws.
At the bottom, add the rounded feet. Draw the toes on both paws using small, rounded lines.
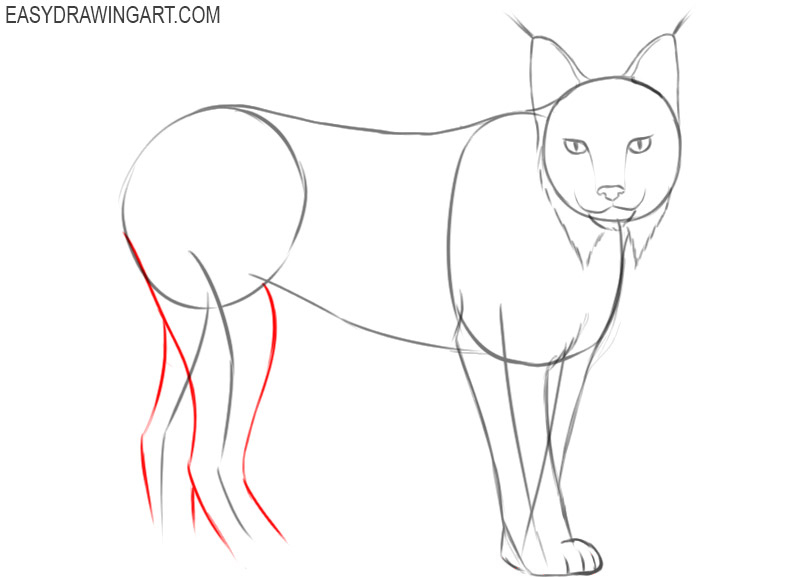
- Sketch out the hind legs.
Now it’s time to draw the hind legs. Use smooth lines and try to depict all the physiological curves of the body.
- Depict the bottom of the hind legs and tail.
Finish drawing the paws and add feet on each hind paw. Draw the fingers in the same way as you did for the front paws. Sketch out the tail.
- Add details.
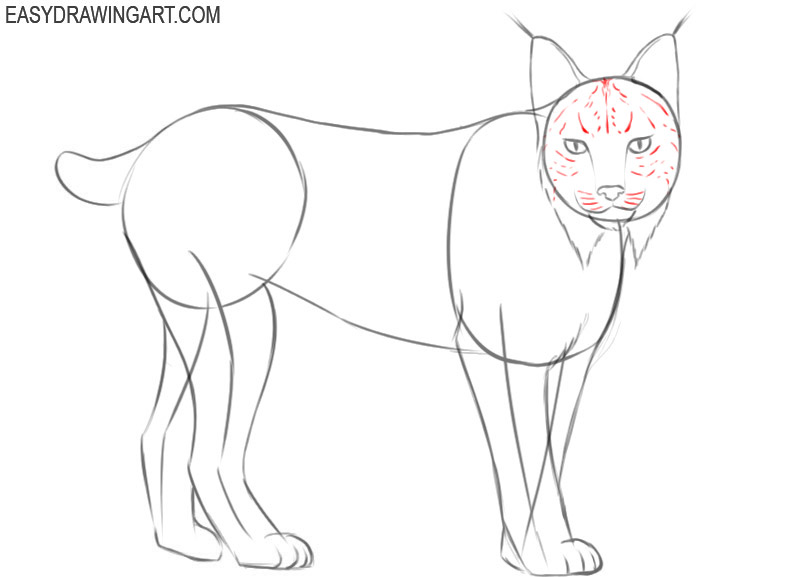
In this step you need to add whiskers and spots on the lynx’s face.
- Add more details.
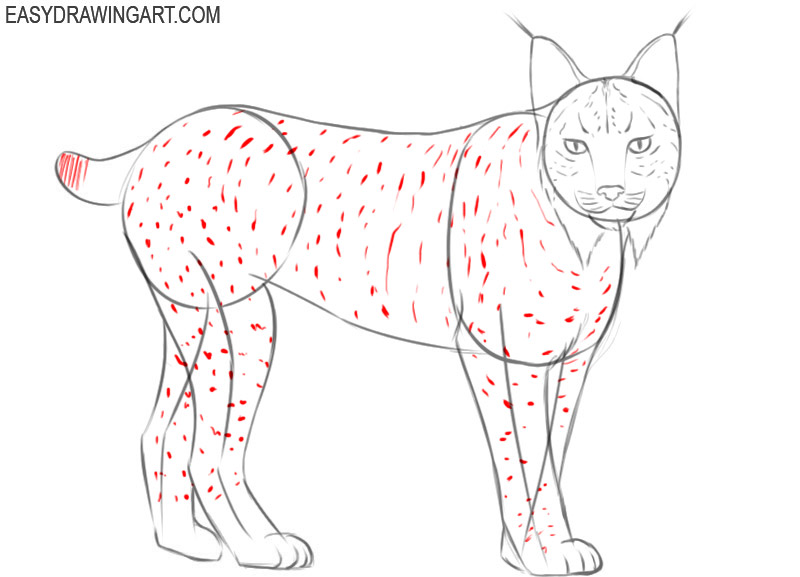
The lesson is almost over. At this stage you need to add spots on the body of the lynx. Draw stripes on the tail. Carefully repeat this step as shown in the example.
- Correct the inaccuracies.
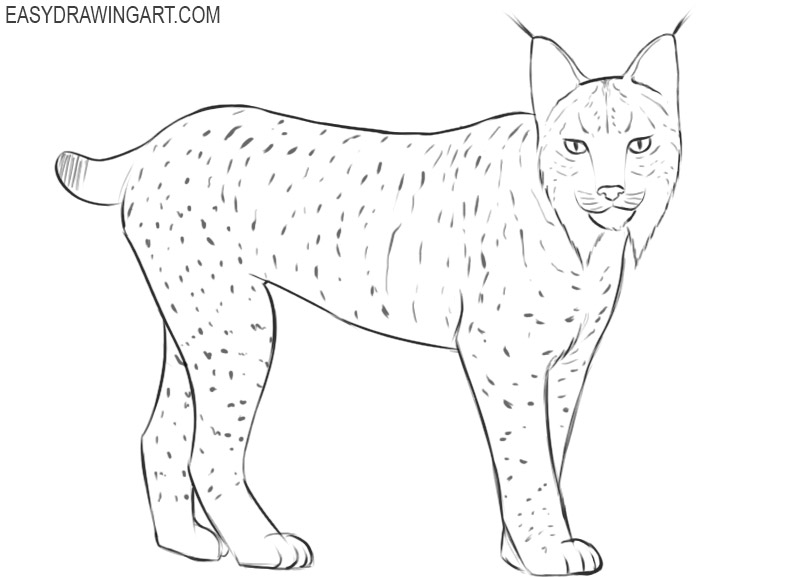
Remove all auxiliary lines with the eraser, they are no longer needed. If you suddenly see inaccuracies, then correct them at this stage.
- Color the drawing.
Use brown to color in the lynx’s fur and don’t forget to add shadows to make the drawing look more realistic.

Share your impressions in the comments. Your opinion is important to us and all your feedback serves as a guideline for us when creating new exciting lessons.

EWWWWW THIS SO UGLYYYY
then look for another tut and maybe just shut up about it
like u lol
like you lol????????????????????????????
just because i look’s like u ewwwwwwwwwwwwwwwwwwwwwwww nanny