How to Draw a Hockey Player
This tutorial is designed for beginner and intermediate artists, and now we will show you how to draw a hockey player.
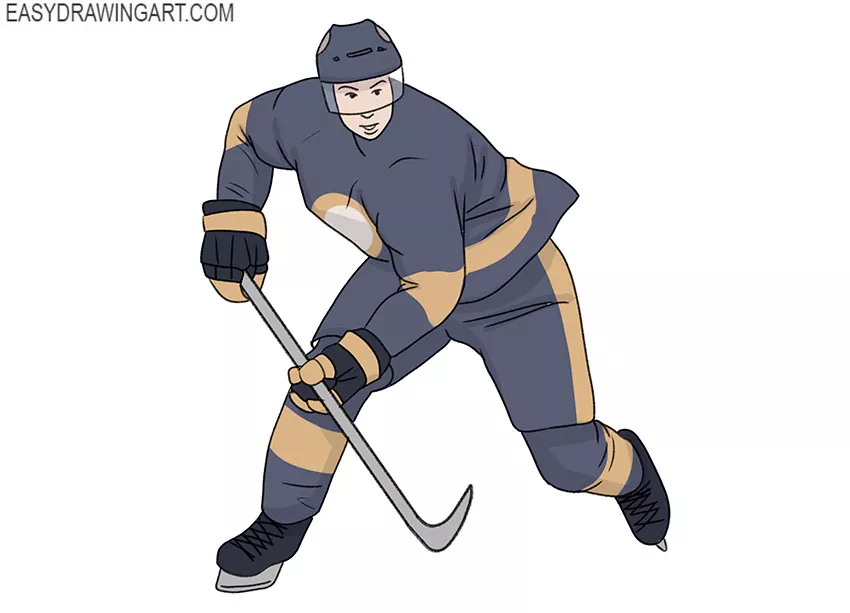
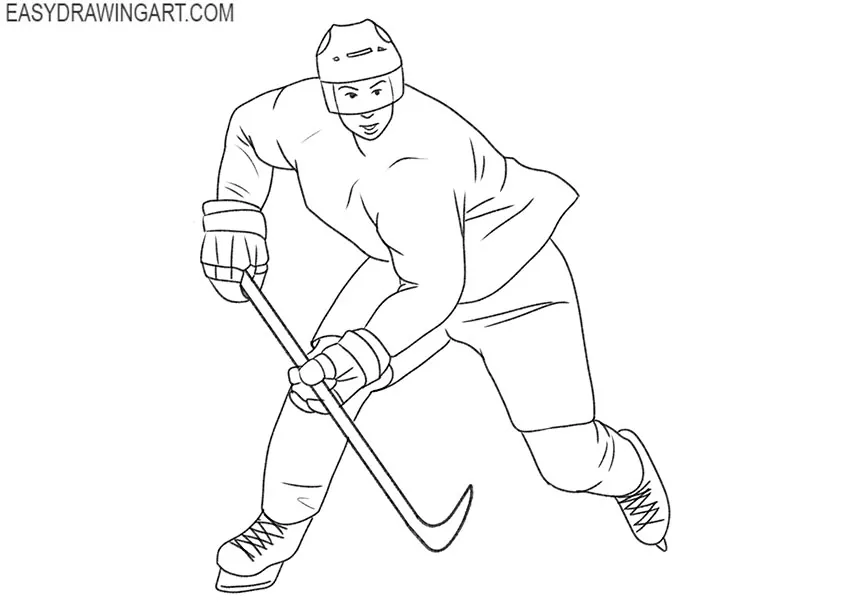
The drawing shows a hockey player wearing a helmet and full hockey gear. He is holding a hockey stick and trying to hit the puck.
While working, pay close attention and try to accurately depict the pose, keep all the body parts correctly sized, and carefully draw the lines marked in red.
Time needed: 1 hour
How to Draw a Hockey Player
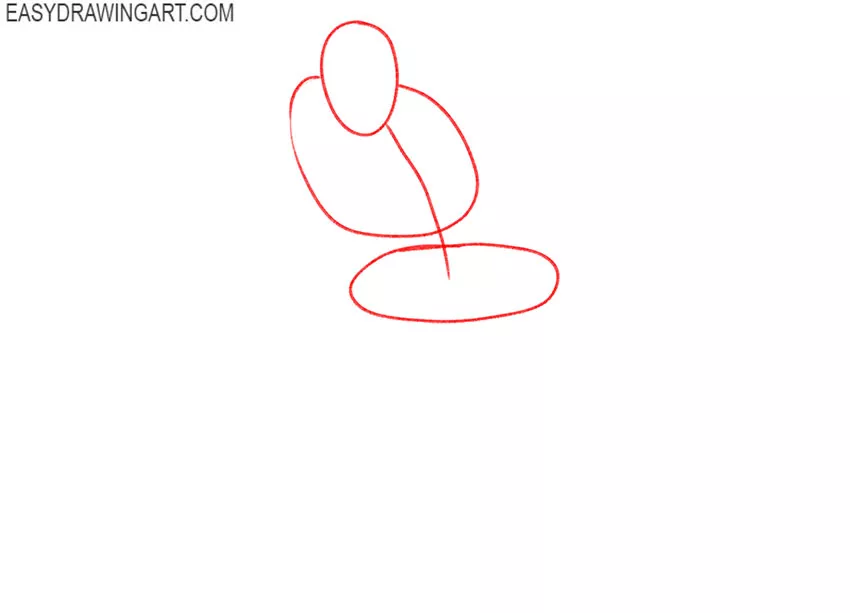
- Prepare baselines.
Draw the main parts of the hockey player’s body in the form of rounded shapes. Try to correctly depict the size and relative position of the figures.

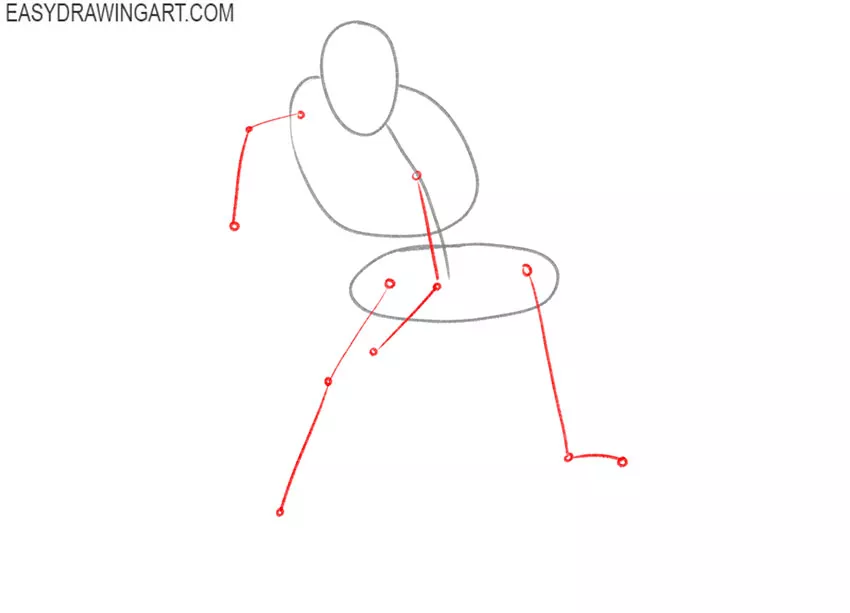
- Add the limbs.
Using thin, straight lines, mark the position of the arms and legs. Draw the folds as large dots.
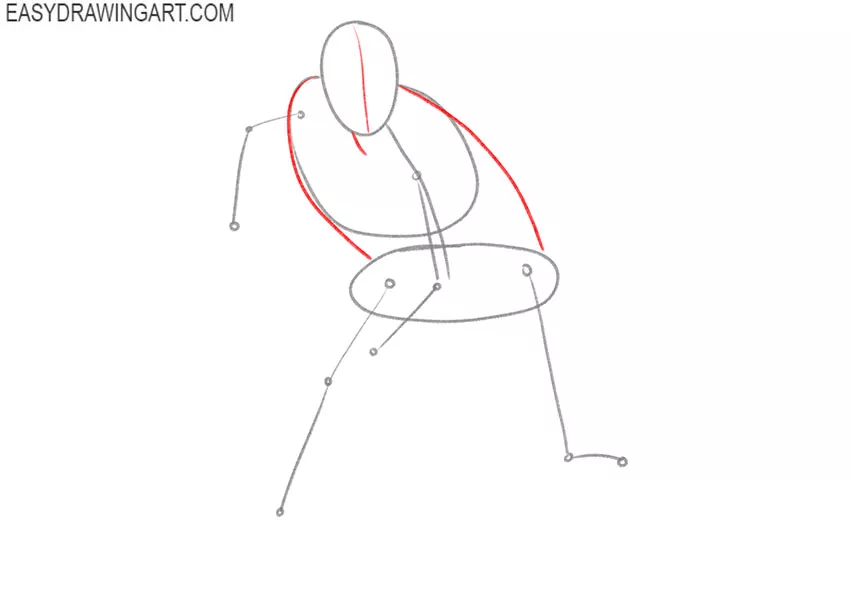
- Make markings on the face and outline the contours of the body.
On the head, draw a vertical line that will help you correctly position the elements of the face. Draw connecting lines between the main parts of the body.
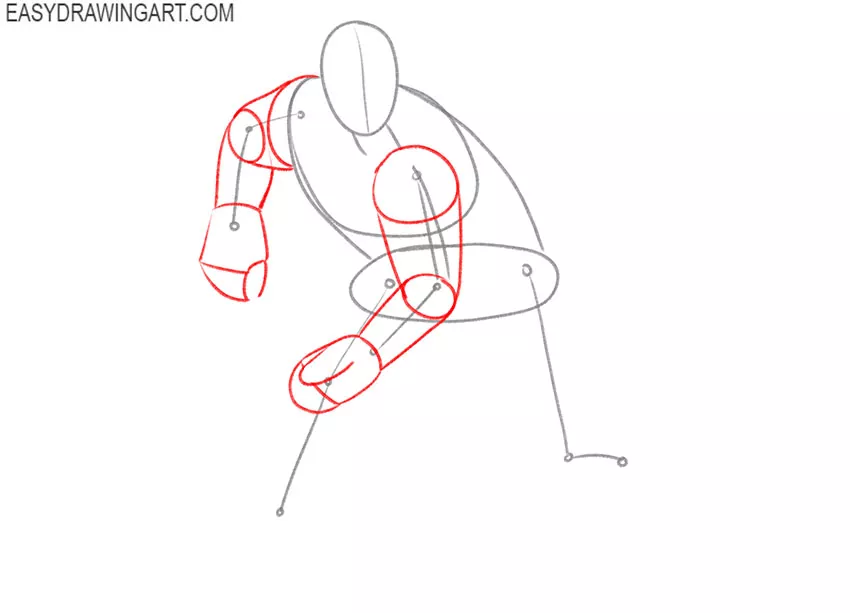
- Draw the arms.
Now you have to give the arms the desired volume. Draw separate parts of the arms in the form of cylindrical shapes and add the large sports gloves.
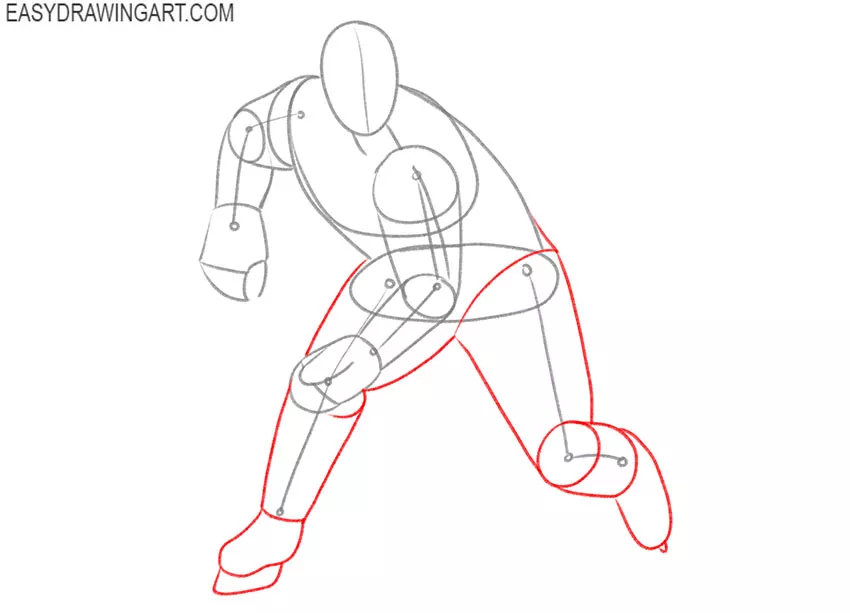
- Depict the legs.
Use the guidelines as a guide and give the legs the desired shape and thickness. Draw the feet and skates.
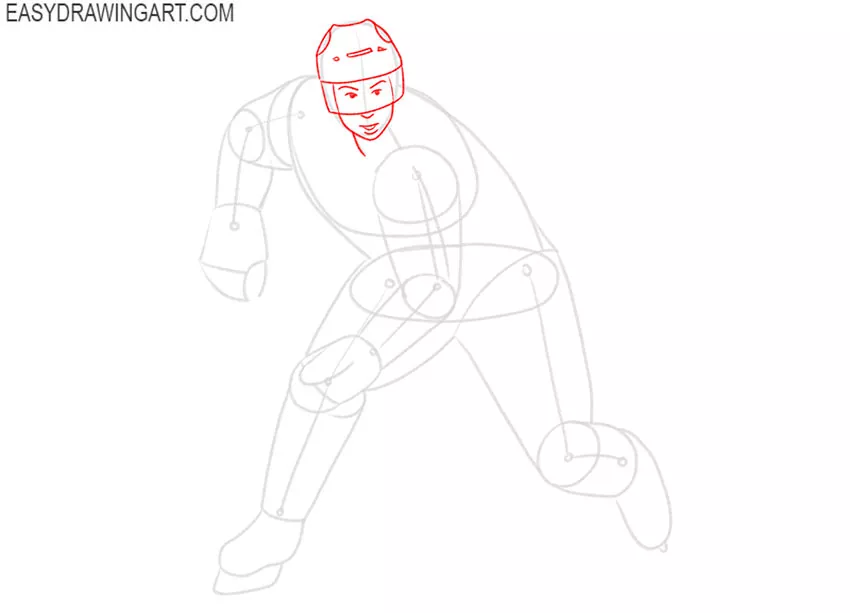
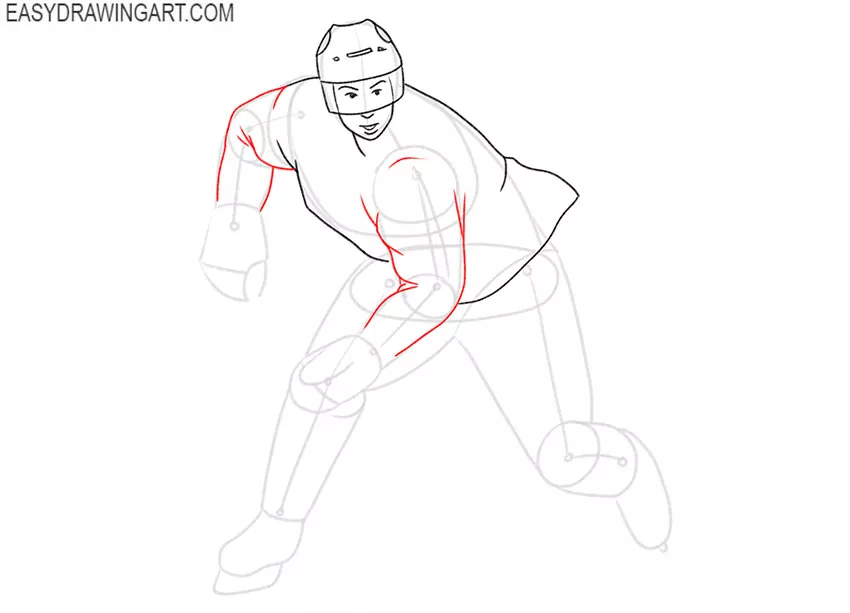
- Detail the head.
Make a clear oval of the face, draw the contour of the neck, eyes, eyebrows, nose, and mouth. Add the protective helmet on the head.
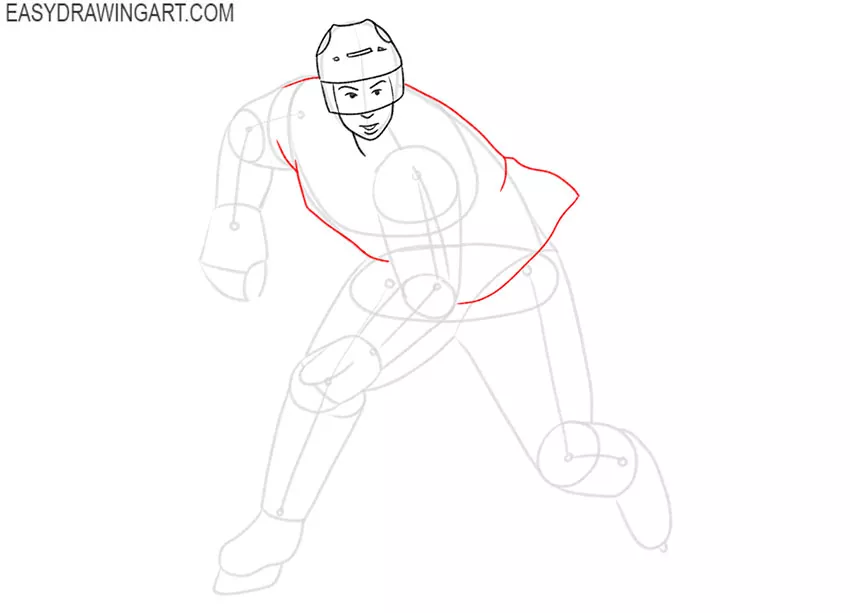
- Start drawing the clothes.
Use clear lines and mark the outline of the jacket, while focusing on the lines that you drew earlier.
- Draw the sleeves.
Continue adding the contours of the body and in this step carefully trace the sleeves along the contour, giving them the desired shape. Add the folds to the clothes.
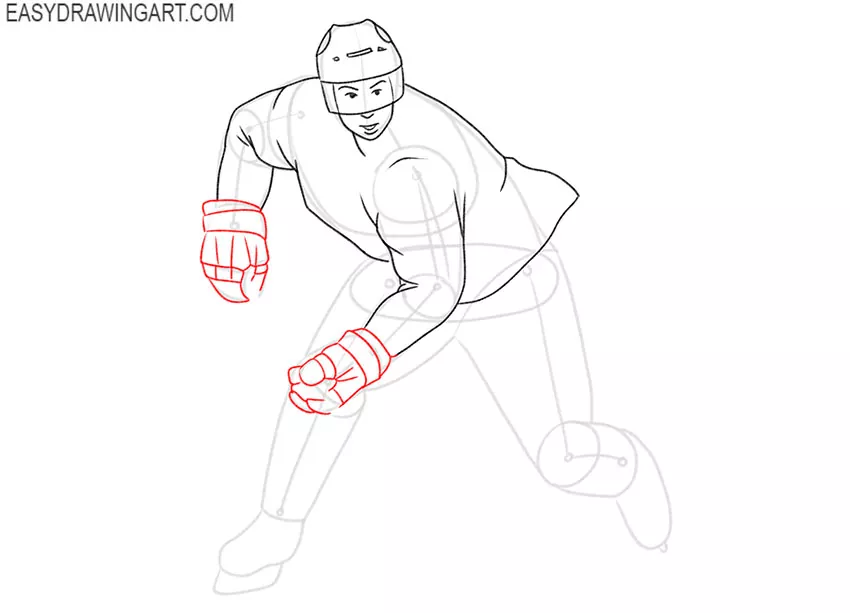
- Sketch out the gloves.
Draw the large gloves on the athlete’s hands, which consist of several elements of different shapes.
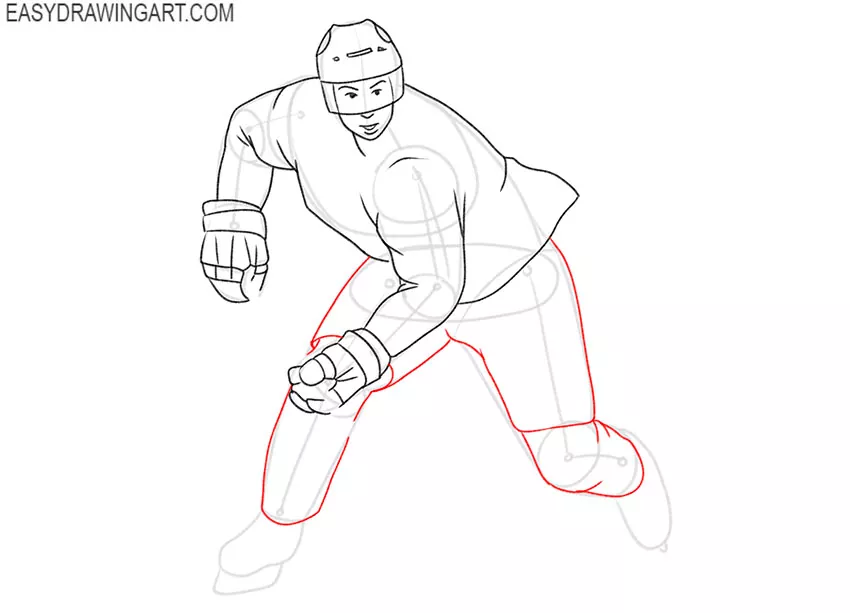
- Depict the pants.
Continue adding clothing elements and in this step draw the sweatpants. In this case, use the lines that you drew earlier as a guide.
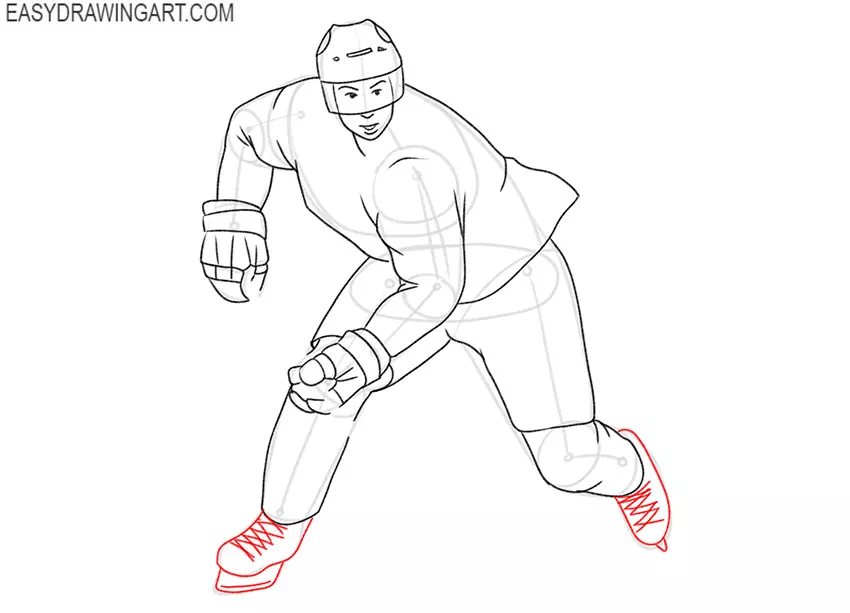
- Add the skates.
Draw the outer outline of the skates, draw the lacing at the top using short, straight lines, and add the blade at the bottom.
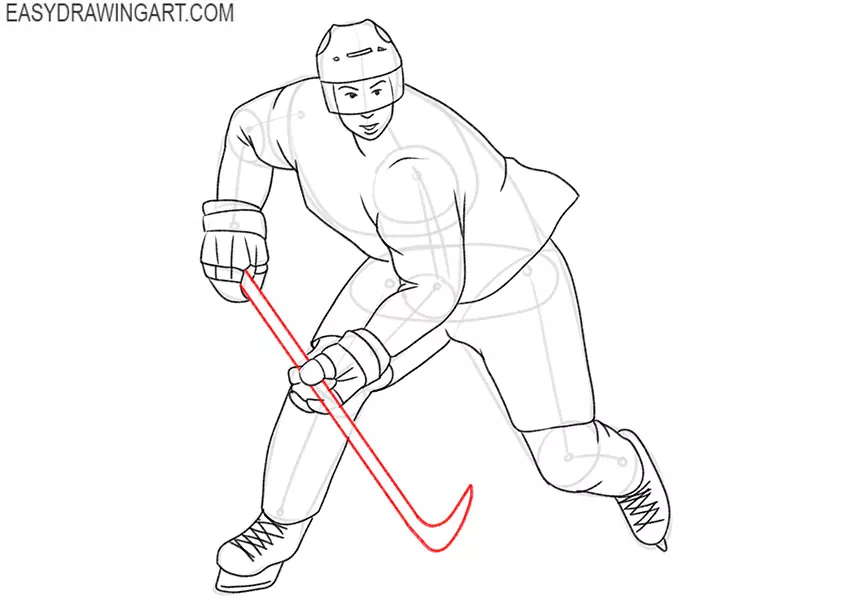
- Depict the club.
The main contours are ready, and now it remains to add a small detail. With the help of straight and curved lines depict the long thin stick.
- Correct inaccuracies.
Carefully remove any unnecessary lines from your drawing and correct any mistakes as needed to prepare your drawing for coloring.
- Color the drawing.
Color the skin with any natural shade. For coloring clothes, use blue, brown, and black. Gray color the blades on the skates and the stick.
It was a fascinating lesson on how to draw a hockey player. We hope you did a great job with this creative challenge. Don’t forget to follow us on social media if you haven’t already.