How to Draw a Doctor

In this tutorial, you will learn how to draw a doctor. This guide consists of just a few simple steps with helpful hints.
A doctor is one of the most important professions, helping people stay healthy and treating illnesses and injuries.
This work requires great responsibility and dedication, and doctors use their knowledge and experience to care for patients every day.
There are many different medical specialties, but doctors are often shown wearing a white coat and carrying a stethoscope.
Time needed: 1 hour
How to Draw a Doctor
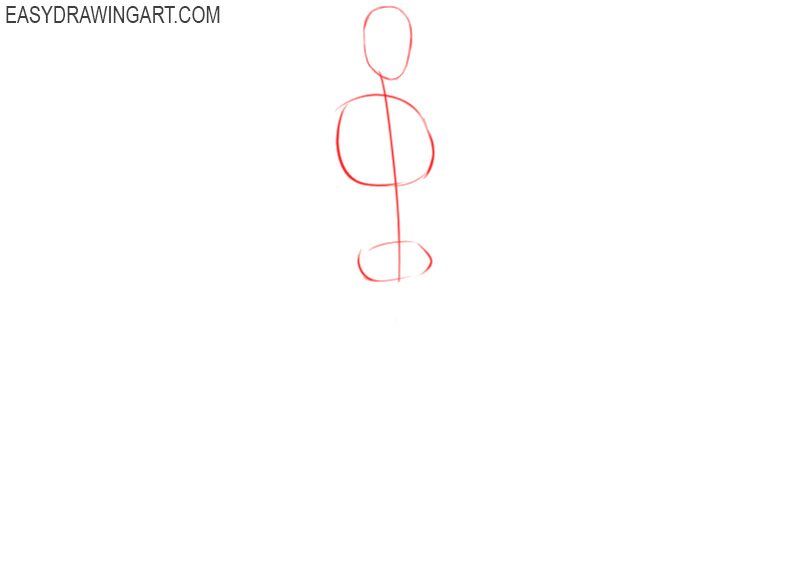
- Draw the base.
Let’s start with the simplest. Mark the position of the main parts of the body and with thin lines draw the spine, the outline of the head, thoracic region and pelvis.

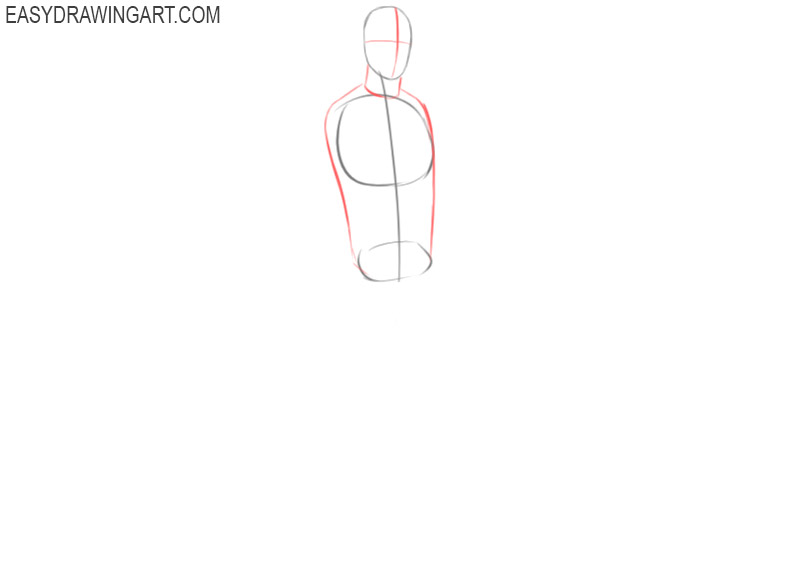
- Depict the outline of the torso and add the outline of the face.
Draw the neck and draw smooth lines on the sides to get a figure that gradually tapers downwards. Sketch out thin transverse lines on the head.
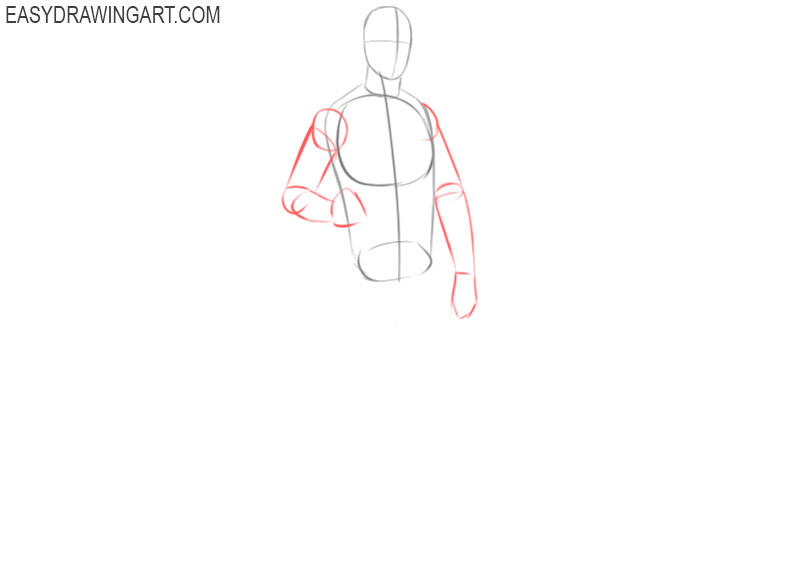
- Add the arms.
Use thin lines and draw parts of the arms in the form of cylinders, depict the shoulder in the form of a circle and draw the outlines of the hands.
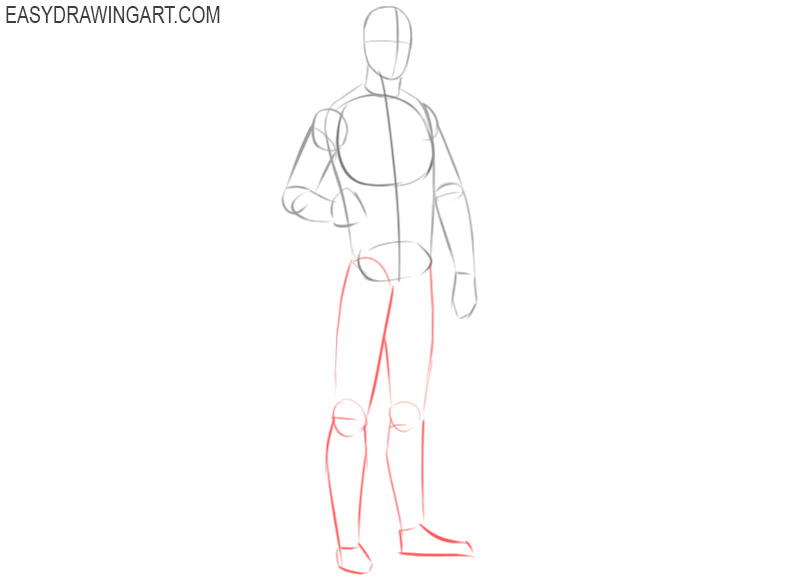
- Sketch out the legs.
Draw smooth lines down from the torso, try to correctly depict all the anatomical curves of the legs. The feet are turned in different directions.
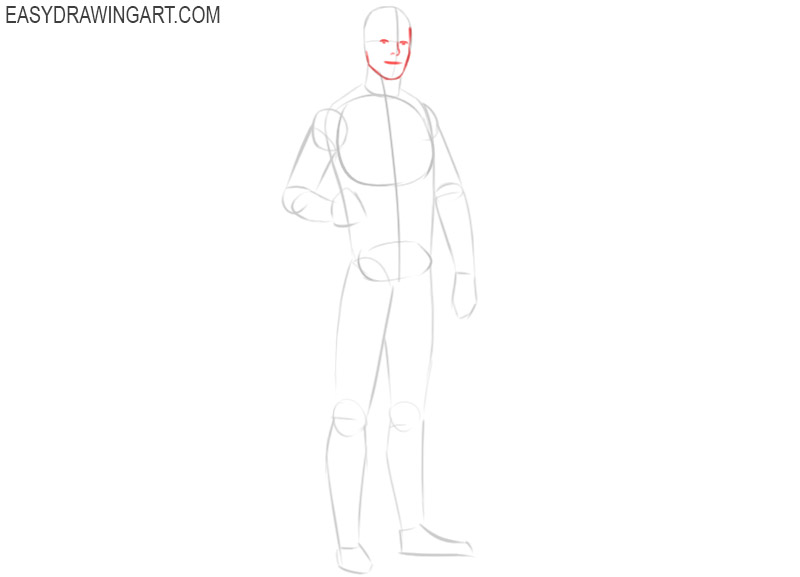
- Add facial features.
At this stage, you can already proceed to a more detailed drawing. Define the outline of the face, add the eyes, nose, and mouth using the markings you made beforehand.
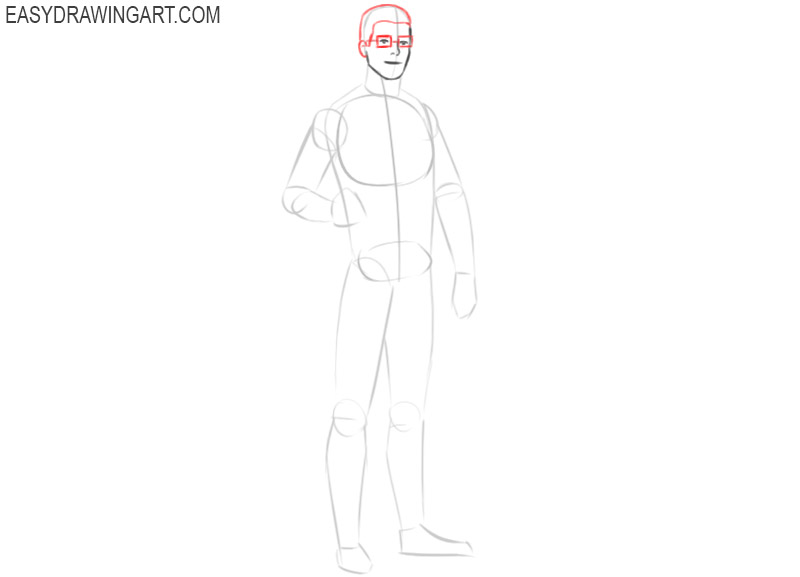
- Depict the rest of the head.
Add the outline of the hair, draw the small oval ear and also draw the glasses which are rectangular.
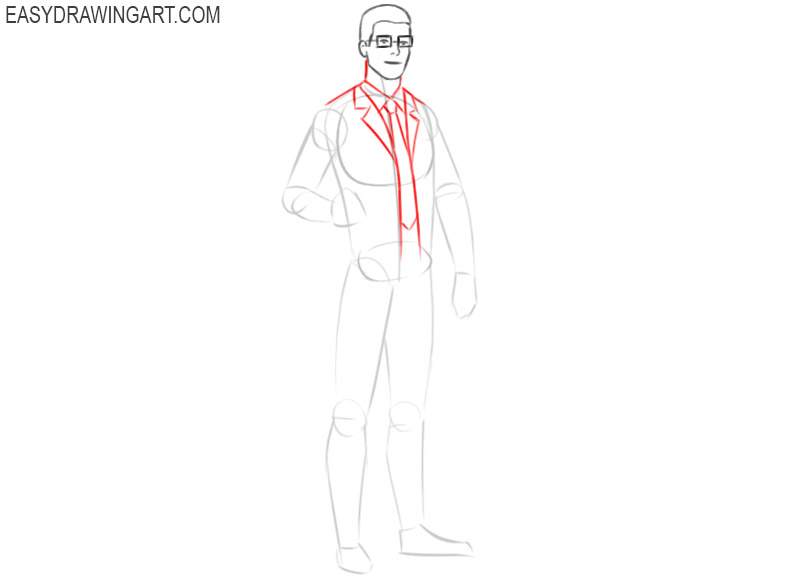
- Start drawing the clothes.
Make the outline of the neck and shoulders clearer. Depict the upper part of the clothes, for this depict the collar of the shirt, tie, and the collar of the medical gown.
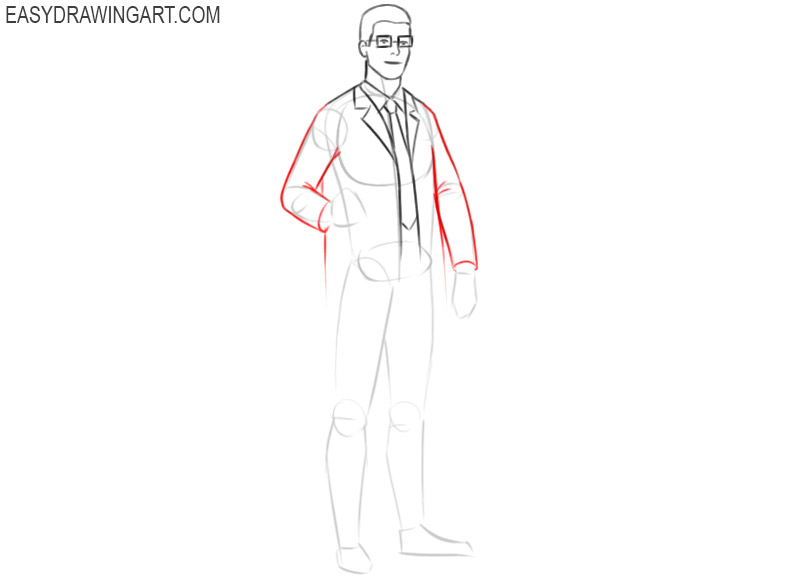
- Draw the sleeves.
Use the lines you drew earlier and draw the outline of the sleeves. Draw the bottom outline of the sleeves and add small pleats at the folds.
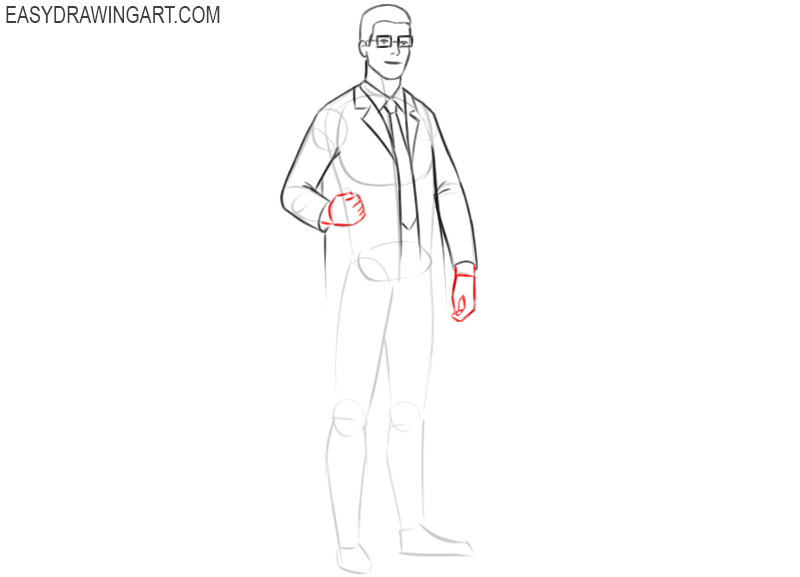
- Add the hands.
The hands are in different positions. On one hand, the fingers are bent, holding the folder, the other hand hangs freely down. Drawing hands will be a great workout for you.
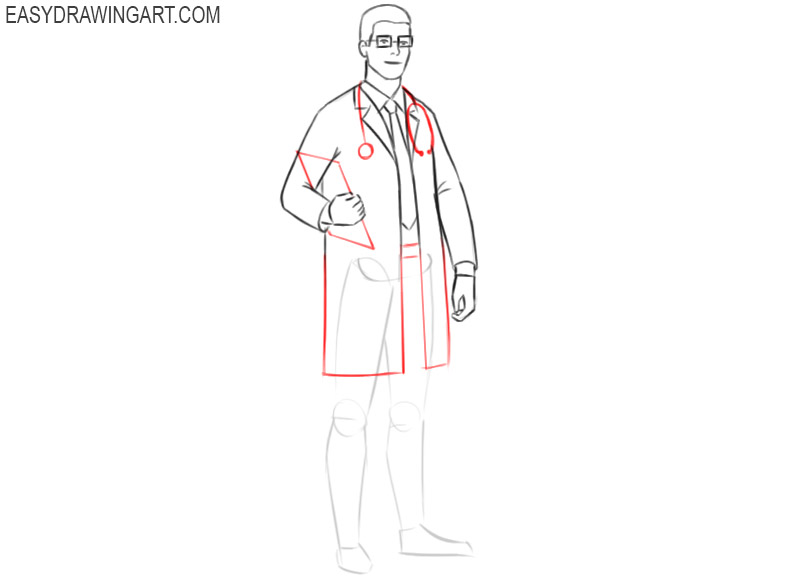
- Depict the robe, folder, and stethoscope.
Draw some even straight lines to draw the bottom of the coat and add details—draw a folder with documents and a stethoscope around the doctor’s neck.
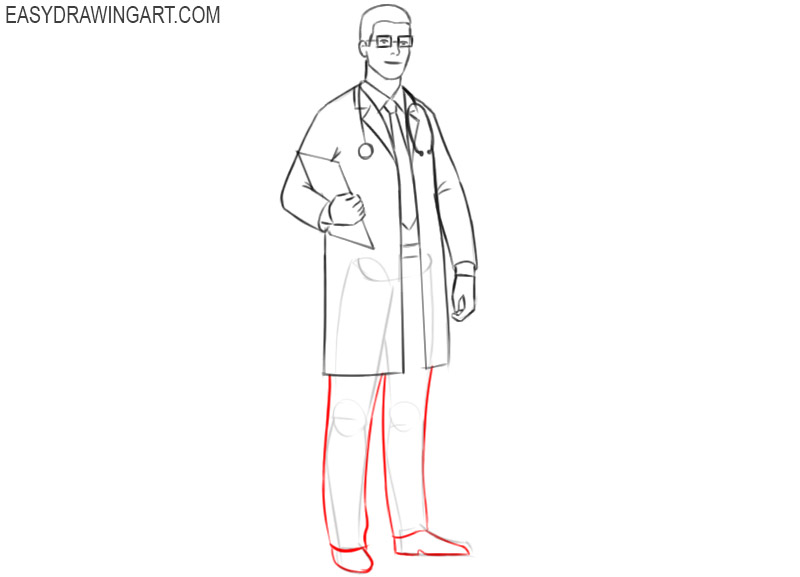
- Sketch out the pants and shoes.
With the help of smooth lines, draw the pants. Use the lines you drew earlier as a guide. Then add the boots.
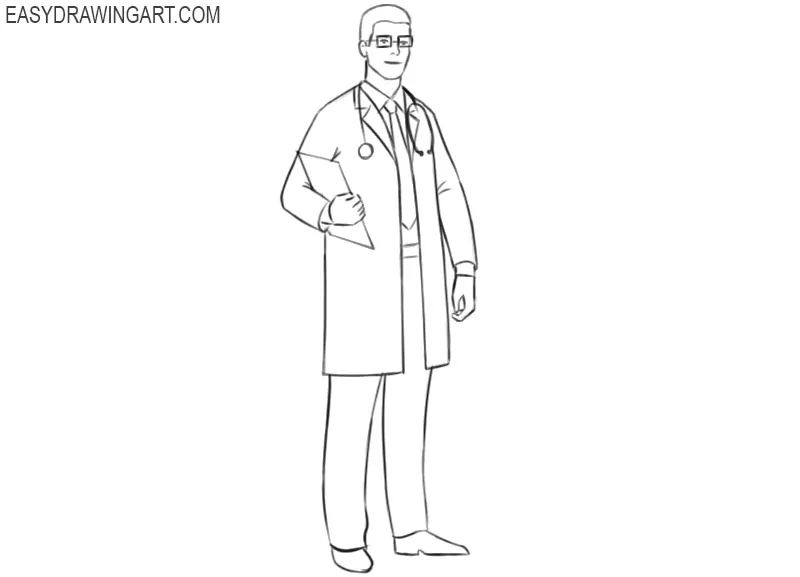
- Prepare the drawing for coloring.
Check your drawing against the example and correct any mistakes if any. With an eraser, remove all extra lines in your drawing.
- Color the drawing.
Use natural shades to color your skin and hair. Color the robe in light gray, use shades of blue and gray for coloring clothes and shoes. Add shadows to make the drawing look more realistic.
We have finally finished the step-by-step guide to drawing a doctor. Write to us about whether you are satisfied with the result of your work. Also write what other professions you know and what you would like to portray, and we will try to prepare new lessons based on your wishes.