How to Draw a Cricketer
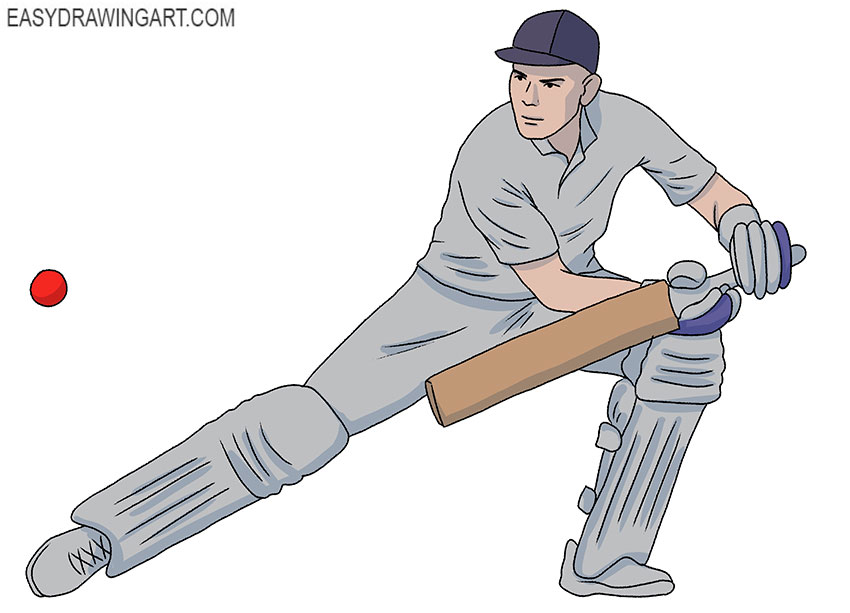
If you want to learn how to sketch a human figure in motion, then we suggest following this tutorial on how to draw a cricketer.
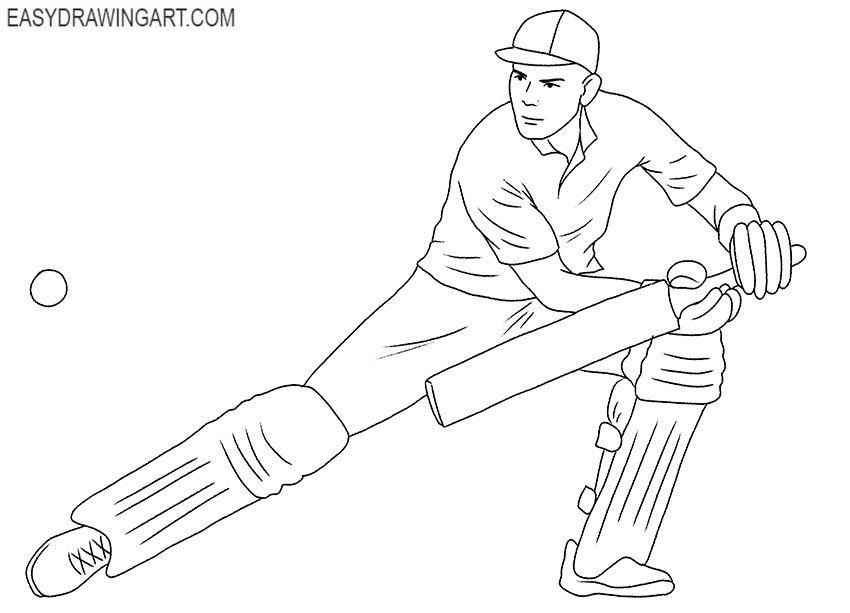
The picture shows a man with his weight shifted onto one leg while the other leg is extended. He is holding a cricket bat in his hands and looking toward the ball.
During this tutorial, try to keep all the body parts in the correct proportions and make your drawing as close to our example as possible.
Time needed: 1 hour
How to Draw a Cricketer
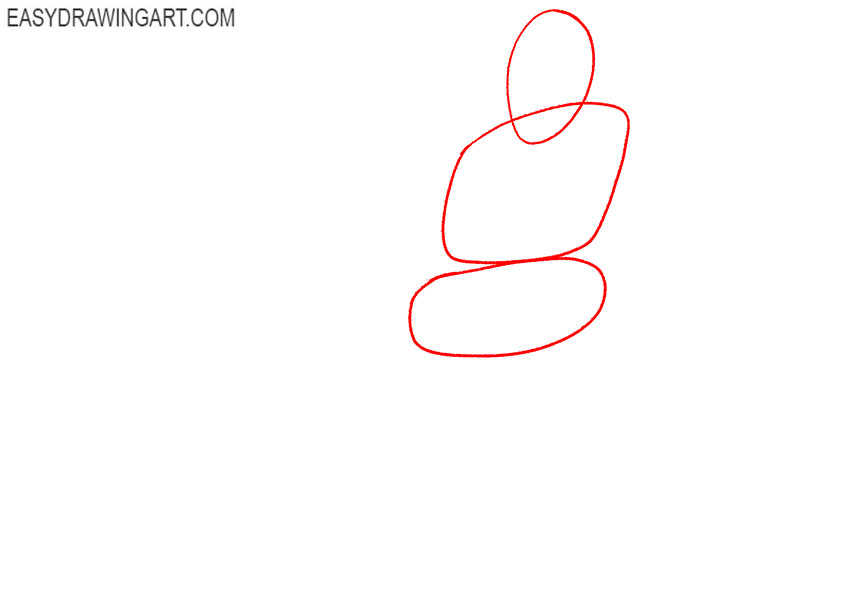
- Draw the baselines.
Mark the position of the head, thoracic region and pelvis. We remind you that at the initial stage you need to use thin lines, which you can easily remove later.

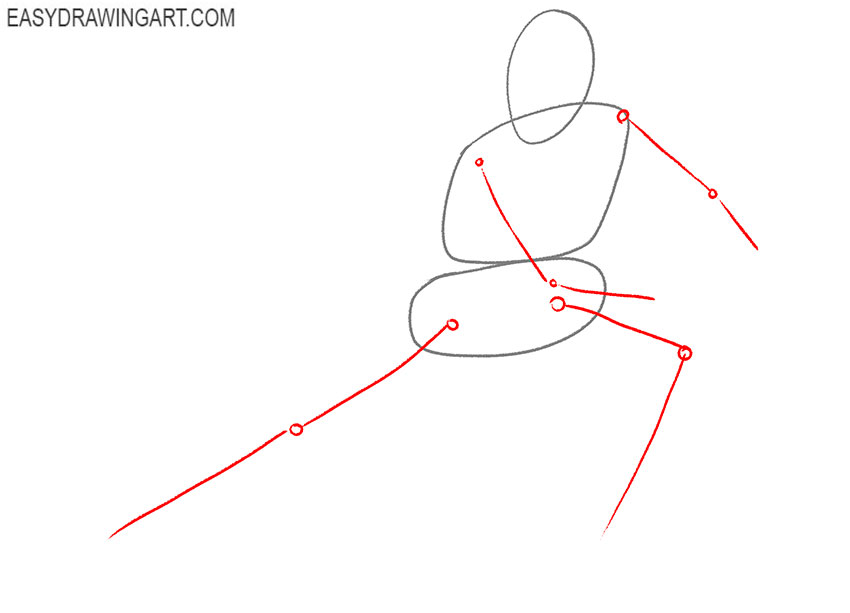
- Sketch out the limbs.
Using a few thin lines, mark the position of the arms and legs. Mark the places of the folds in the form of the large dots.
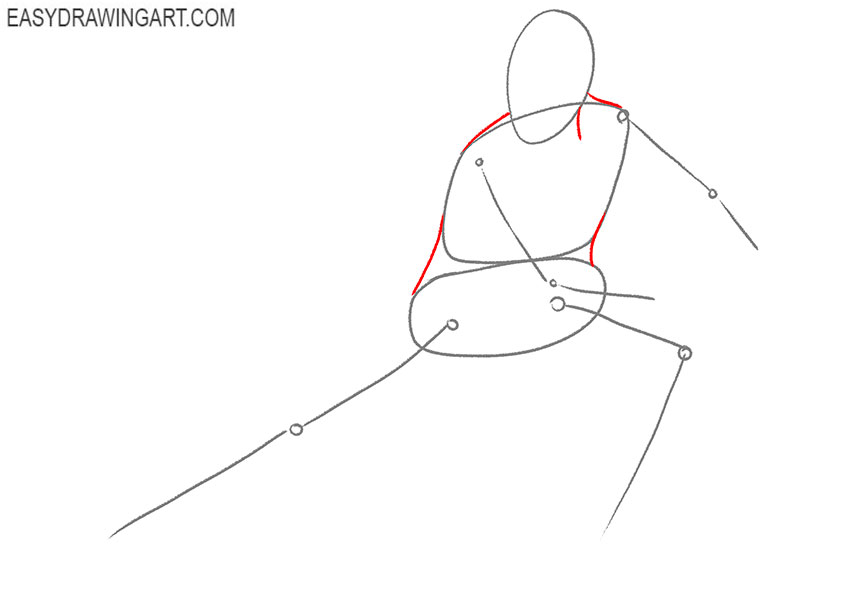
- Add the contours of the body.
Draw the lateral contour of the neck, draw the shoulders and draw connecting lines between the thoracic region and the pelvis.
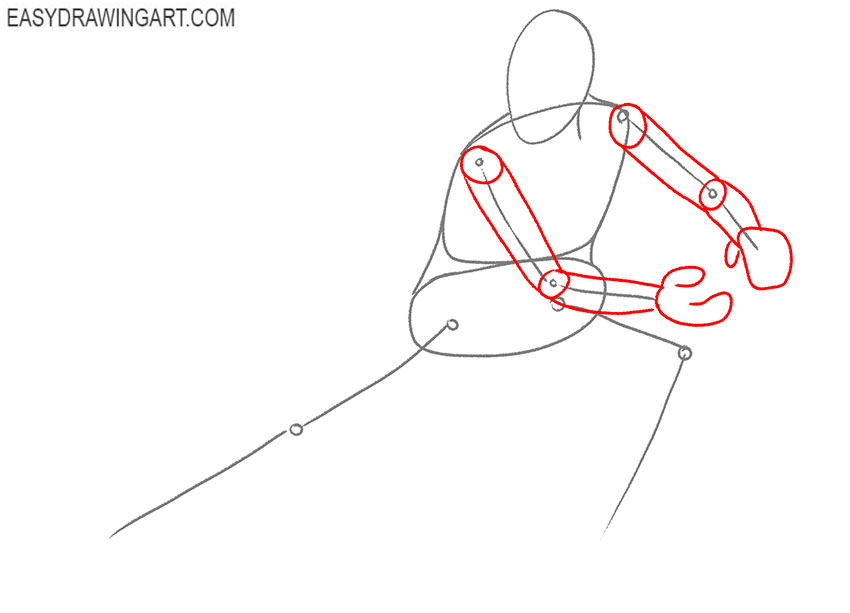
- Depict the hands.
Focus on the auxiliary lines and give the hands the necessary thickness. Outline the hands.
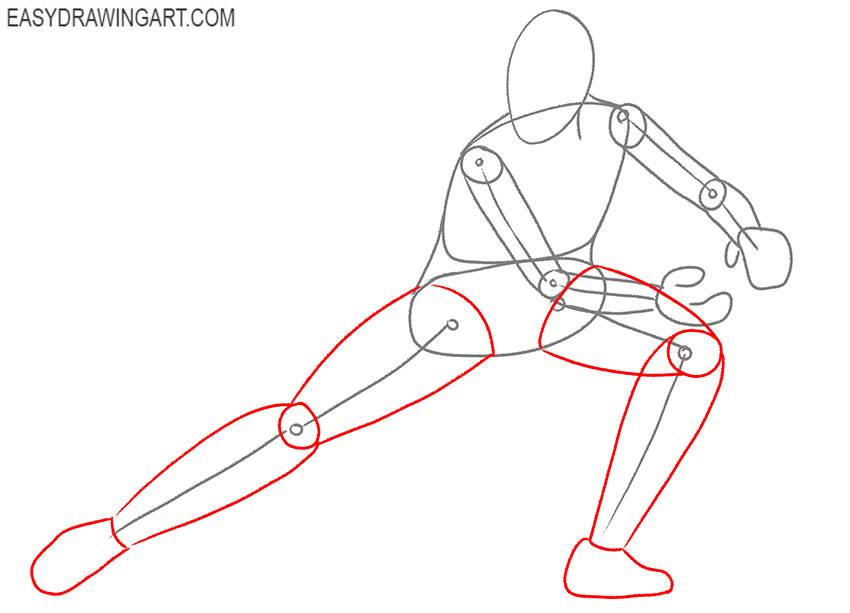
- Draw the legs.
Give the legs the necessary shape according to the same principle as in the previous step. At the bottom, mark the outline of the feet.
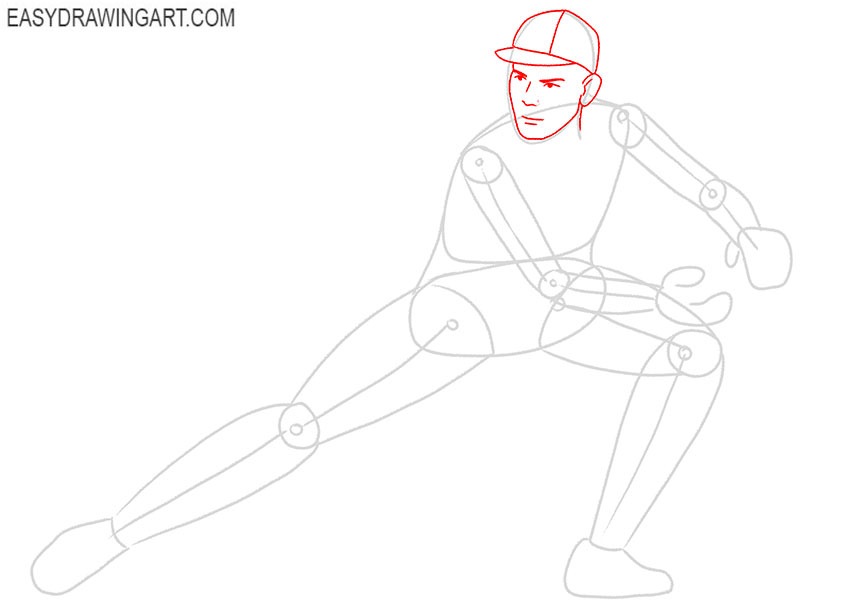
- Detail the head.
Make the oval of the face more clear, and draw the ear on the side. Draw the eyes, eyebrows, nose, and mouth. Depict the cap with the visor.
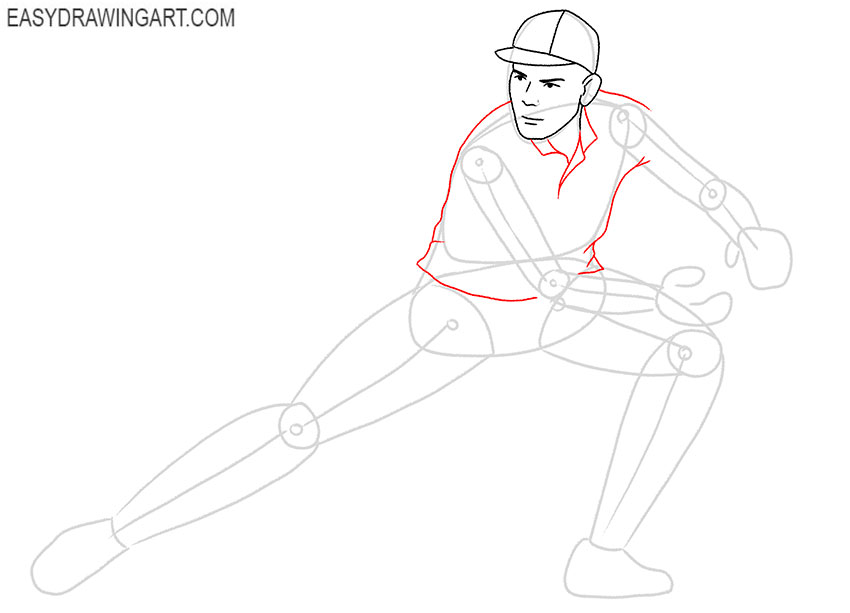
- Start drawing the clothes.
Focus on the lines that you drew in the previous steps and draw the outline of the clothes. Draw the collar and add the small folds.
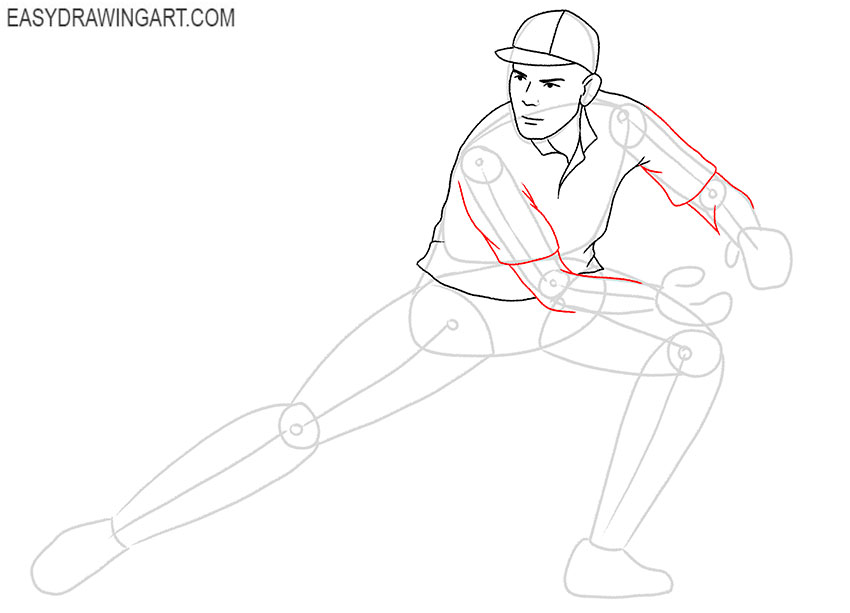
- Draw the upper parts of the arms.
Depict the short sleeves on the T-shirt and make the outline of the upper arms more clear. Add the small folds.
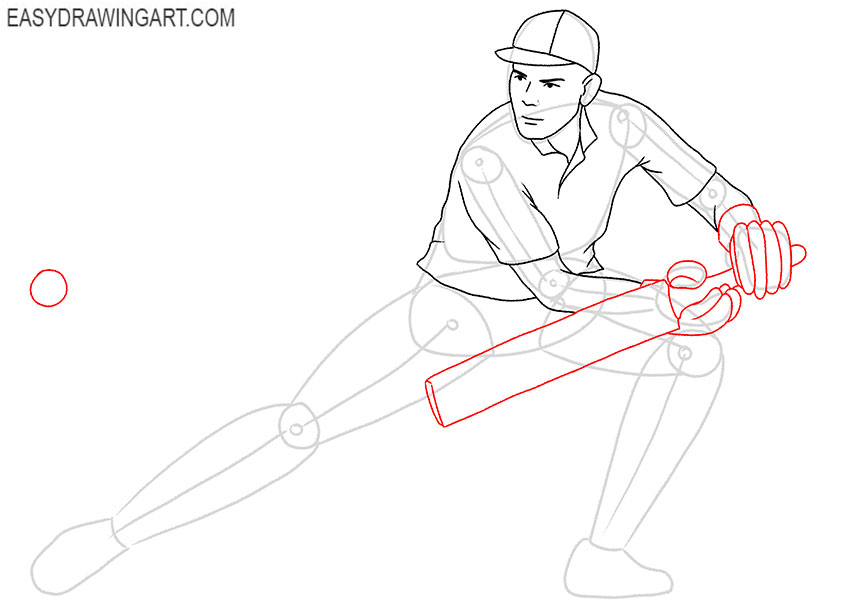
- Add the hands and the ball.
This step will require you to be especially careful, because here you must correctly depict the position of the hands. Draw the long bat and draw the small ball.
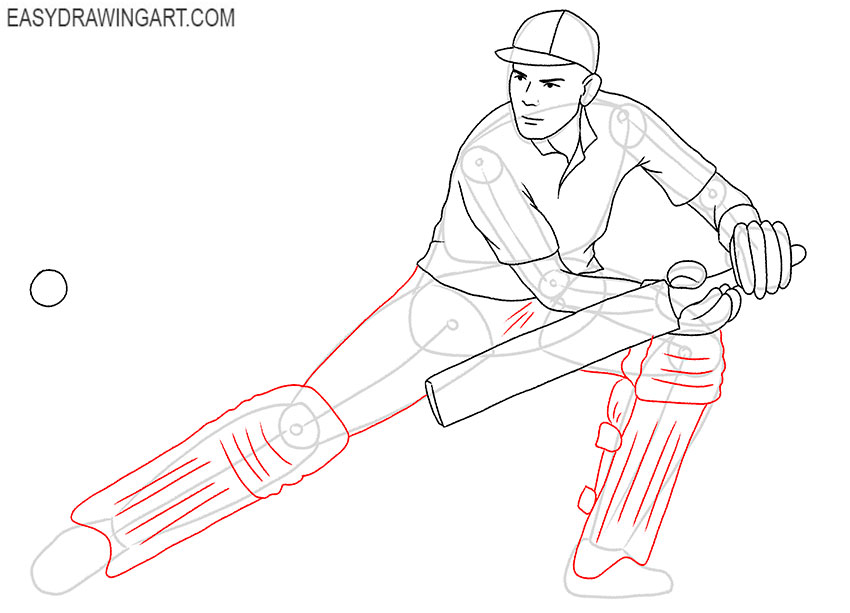
- Depict the legs.
Focus on the auxiliary lines and make the outline clearer. At the bottom of the legs, draw the special overlays, which are a necessary piece of equipment.
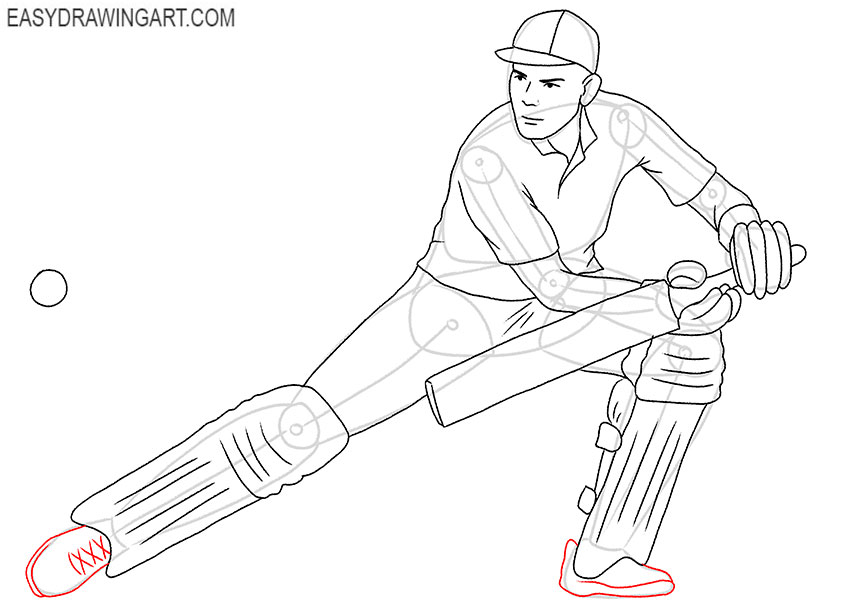
- Sketch out the shoes.
When the main contours are ready, you can start drawing shoes. With the help of smooth lines draw the boots. Draw lacing on one of the shoes.
- Add the folds to the clothes.
Make the drawing more realistic by adding the folds to the clothes using thin strokes of different lengths.
- Correct inaccuracies.
Compare the drawing with our example, if you notice errors, then immediately correct them. Carefully remove all extra lines in your drawing.
- Color the drawing.
Color the skin with any natural shade. For coloring clothes and shoes, use shades of gray. You will also need brown, blue, and red.

So another drawing lesson came to an end. We recommend that you complete other lessons presented on this site, with the help of which you will improve your creativity. We will be glad to see you among our subscribers in social networks.