How to Draw Robin
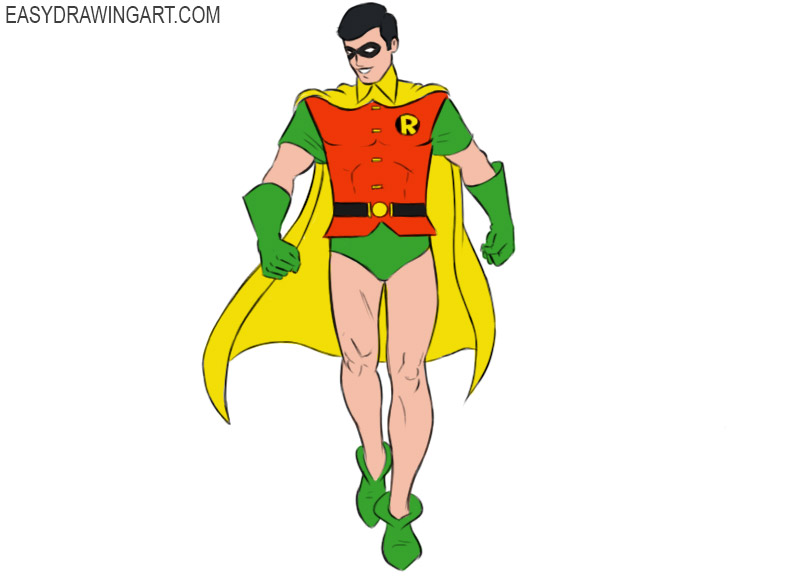
Robin is one of the most recognizable comic book superheroes and is best known as Batman’s sidekick. In this tutorial, you will learn how to draw Robin while practicing your comic book figure drawing skills.
This superhero is brave, determined, and always ready to fight crime alongside Batman. Although he has no superhuman abilities, he relies on his strength, agility, and excellent combat skills.
In the finished drawing, Robin is shown wearing his signature cape and black mask in a confident standing pose. By following the steps, you’ll draw a full-body illustration of the DC superhero with his classic superhero appearance.
Time needed: 1 hour
How to Draw Robin
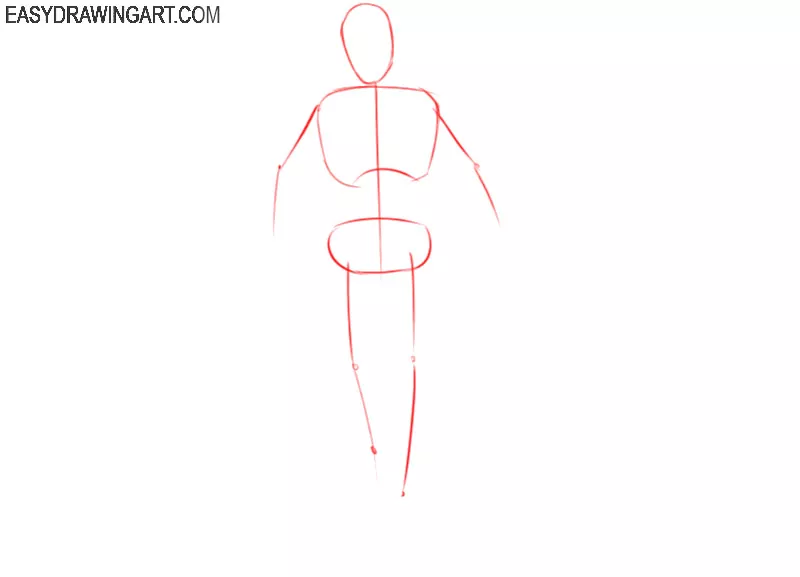
- Draw the main outlines.
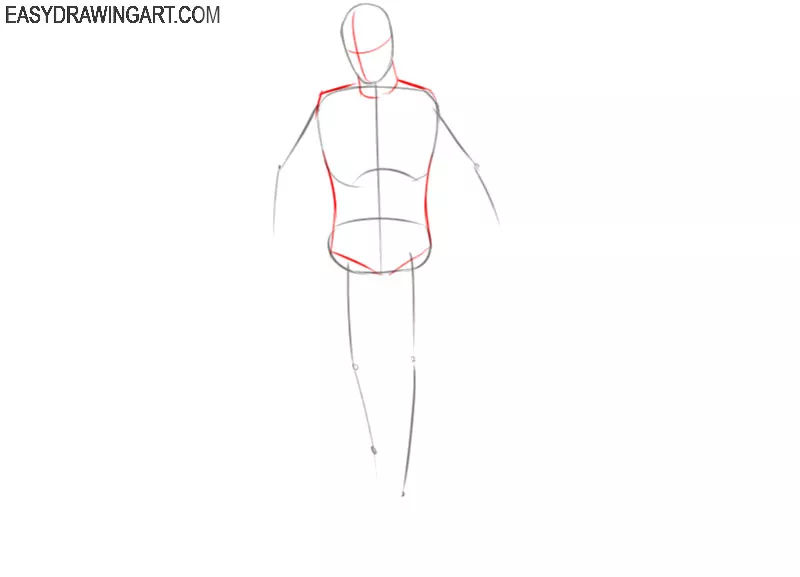
With thin lines, draw rounded shapes and thus outline the outline of the head, thoracic region and pelvis. Also get ahead of the position of the arms and legs.

- Add the outline of the torso and mark up the face.
With smooth, clear lines, outline the contour of the body on the sides. Add the shoulders and neck. On the head, draw transverse lines in order to correctly position the elements of the face in the future.
- Depict the outline of the arms.
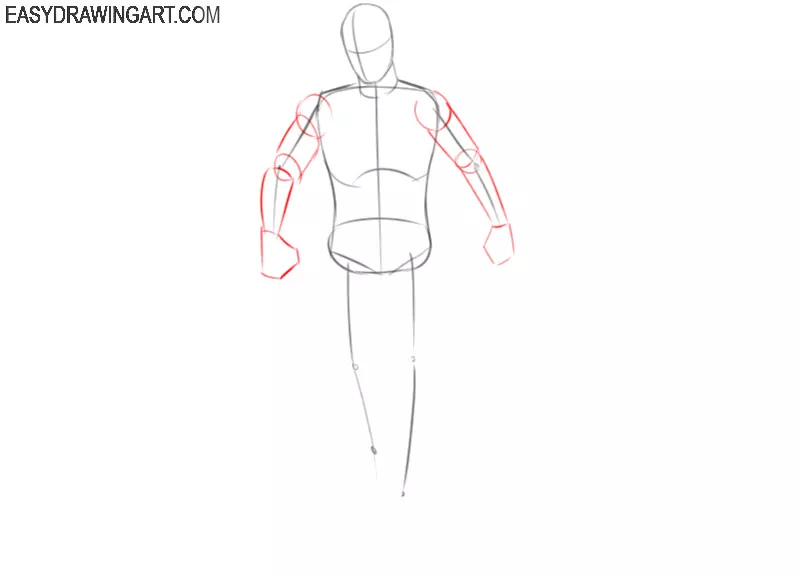
Use auxiliary lines and depict the thickness of the arms. The arms are made up of several round and cylindrical elements.
- Sketch out the outline of the legs.
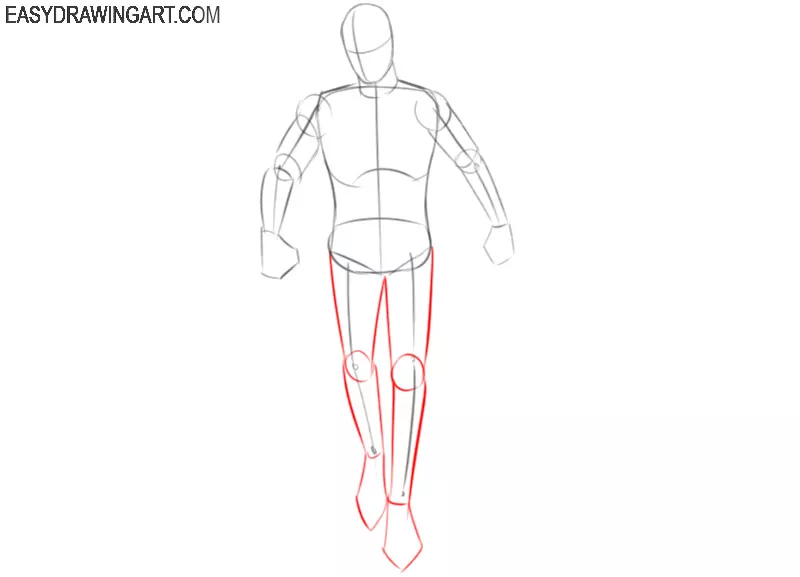
Now you need to give the legs the desired shape and thickness. Consider all the anatomical features of the structure of the legs and try to carefully draw all the lines.
- Add the face.
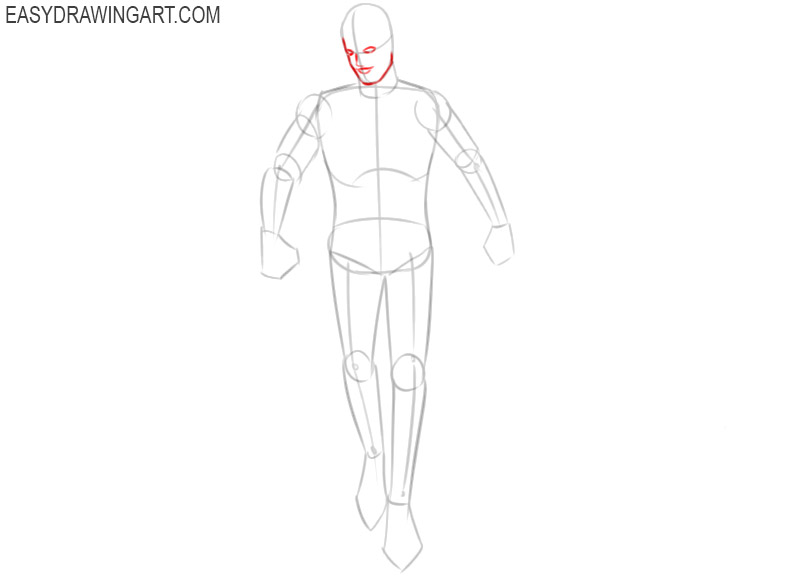
Make a clear oval of the face and then add the elements of the face—draw the eyes, nose, and mouth. The elements of the face are not detailed, so use simple lines to draw them.
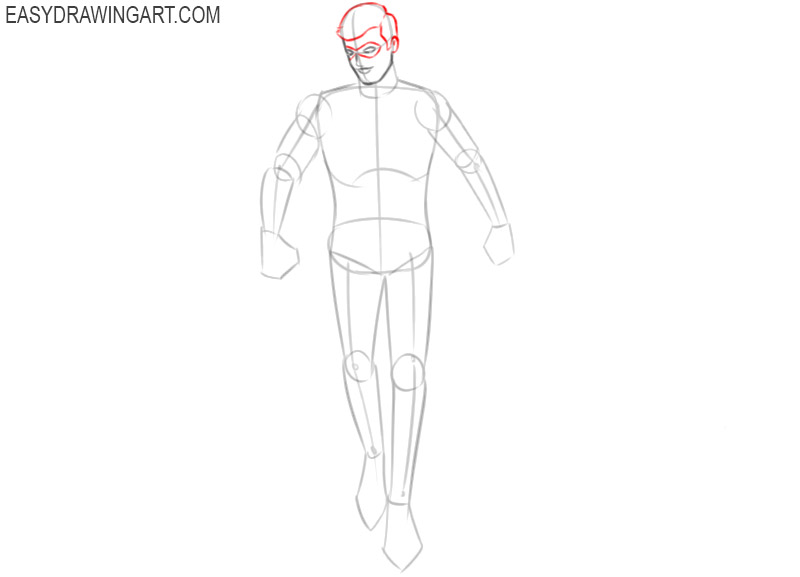
- Draw the top of the head.
Add the mask that is located on the character’s eyes. With smooth lines, draw the outline of the hair and draw the ear on the side.
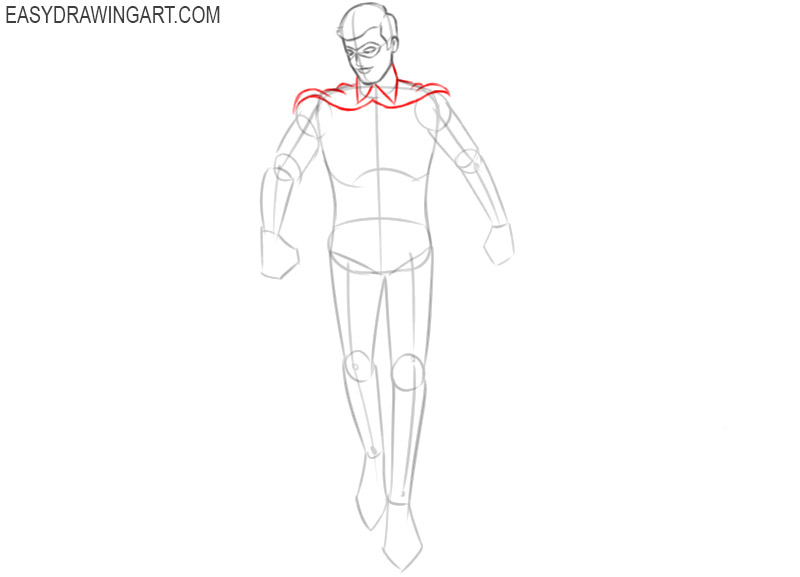
- Depict the top of the clothes.
Draw the high collar on the neck, which has pointed edges. With smooth curved lines, depict the part of the cape that is located on the shoulders.
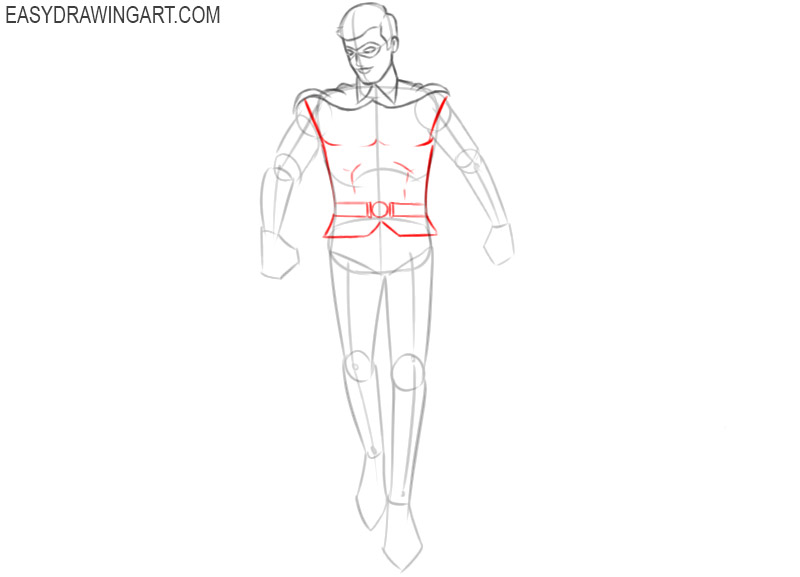
- Add the body of the torso.
Use the lines you drew earlier and make the body of the torso more defined. Draw the bottom edge of the jacket and add the belt with the buckle.
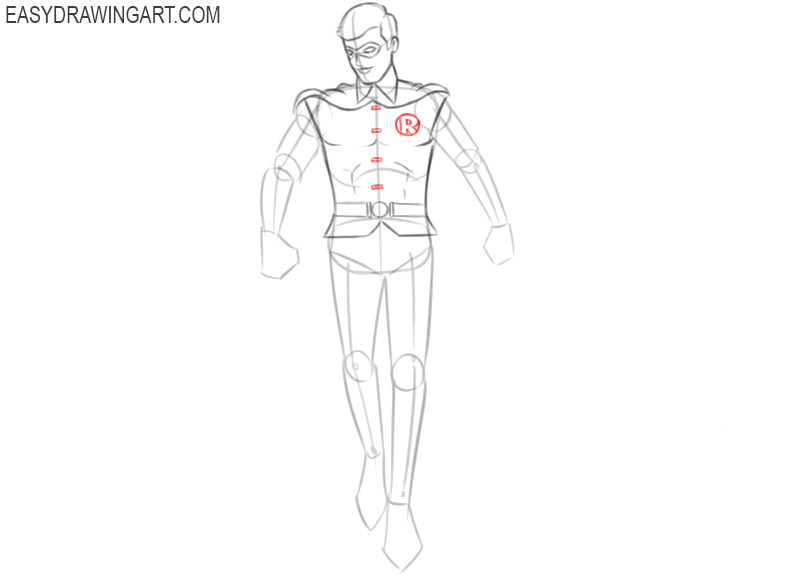
- Sketch out the elements of the clothing.
In this step, you have to draw a few small elements. Draw the fastener in the center and draw a logo on the side that contains a large letter “R”.
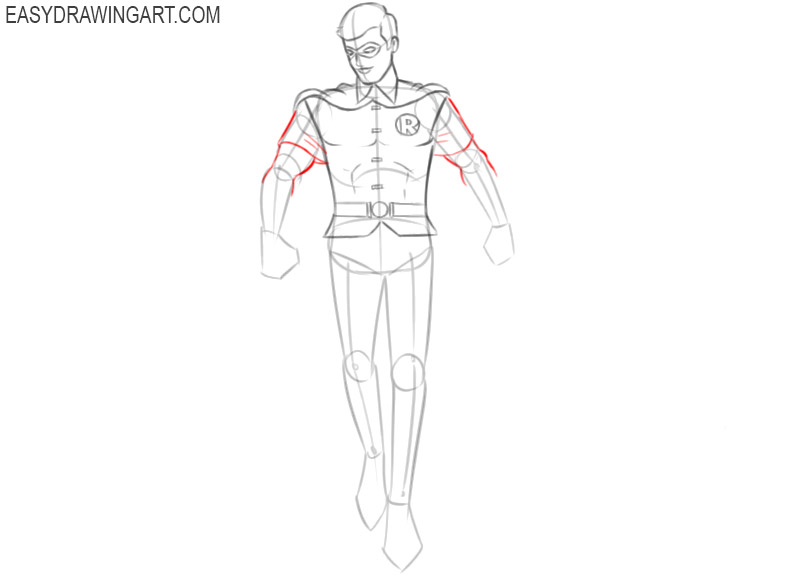
- Draw the top of the sleeves.
On the clothes, add short sleeves and thin lines, add the folds in the armpits. Draw the upper part of the arms with curved lines.
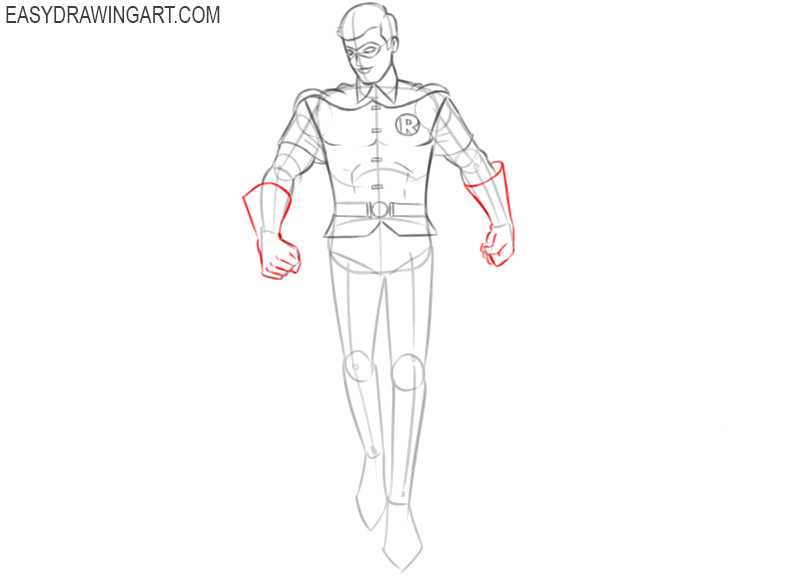
- Add the lower parts of the arms.
The character has large gloves on his hands, his hands are bent into fists. Be careful at this stage and try to correctly depict the position of the fingers.
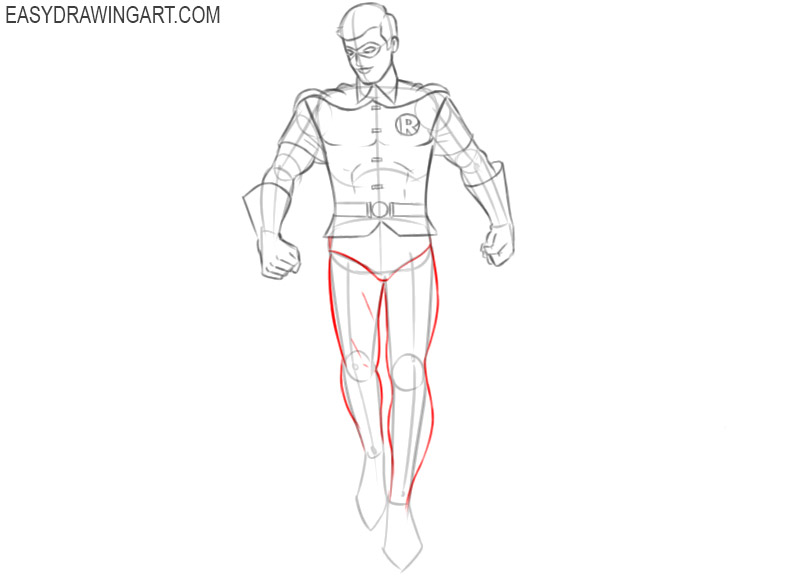
- Sketch out the legs.
Use the lines that you drew in the previous steps as guides and give the legs the correct anatomical shape.
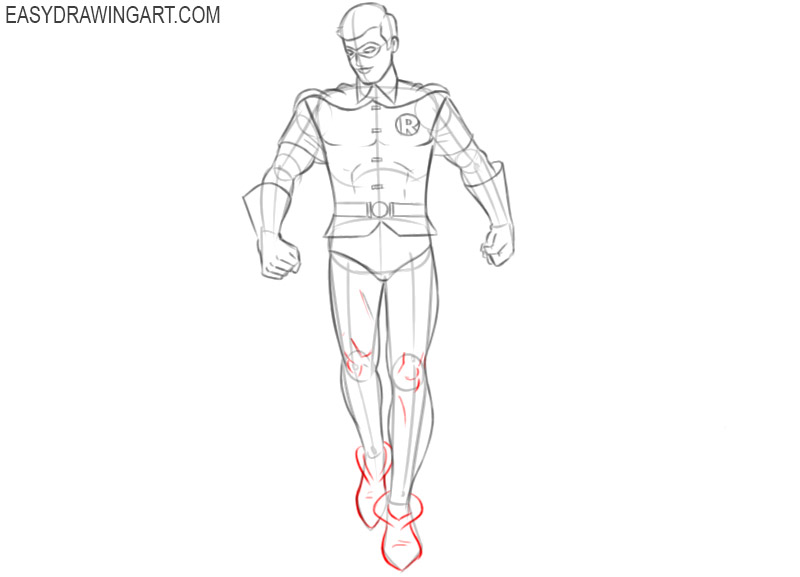
- Add the rest of the elements on the legs.
With the help of thin short lines, depict the bulges on the knees. At the bottom, draw the shoes of the same shape as in the example.
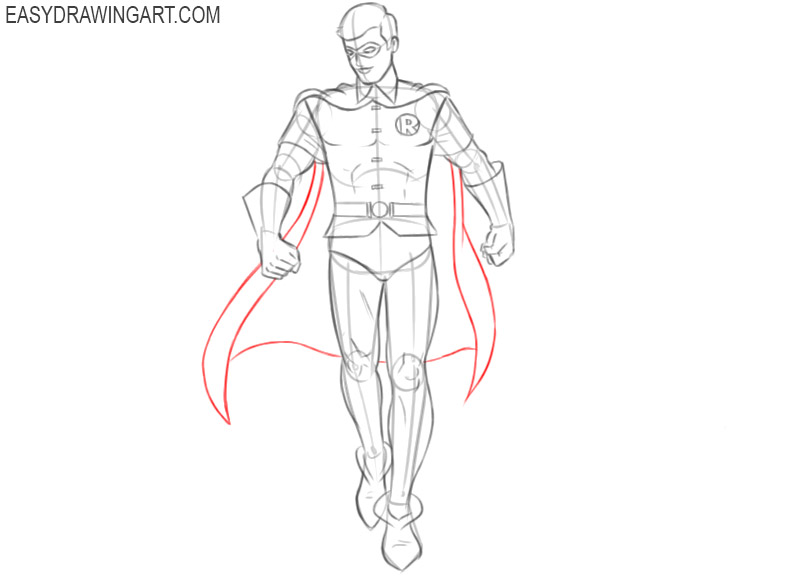
- Draw the cape.
From the armpits, draw down smooth, curved lines to depict the sides of the cloak. Then draw a smooth connecting line at the bottom.
- Correct inaccuracies.
At this stage, compare your drawing with the example and correct inaccuracies if necessary. Carefully remove all extra lines in your drawing.
- Color the drawing.
We recommend that you choose the brightest shades of yellow, green, and orange. You will also need beige and black.
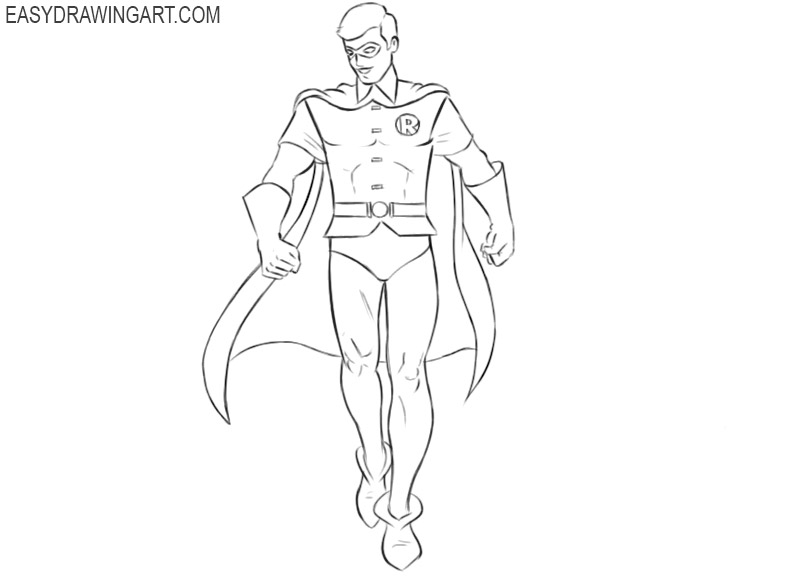
Now we have come to the very end of the instructions and your drawing is completely ready. Are you satisfied with the result of your work? Did you get a good drawing right away, or did you encounter any difficulties in the process of work? Write about it in the comments. We always read your feedback with interest.