How to Paint a Cloud

In this step-by-step lesson, you’ll learn how to paint a cloud using traditional paints or digital tools. This guide will help you understand the practical methods that allow you to depict atmospheric forms with convincing light.
Painting a cloud is less about copying a shape and more about understanding how light, shadow, and subtle transitions work together.
This tutorial will show you how to establish a base layer, use shadows, and adjust highlights so the cloud sits convincingly within your composition.
We will also explain how to convey softness, and the distribution of light within the form using some,e methods. Understanding how different areas of a cloud catch or diffuse light will help you achieve a realistic appearance.
Whether you’re working with oil, acrylic, gouache, watercolor, or digital brushes, the principles in this tutorial remain consistent across all mediums.
How to Paint a Cloud Step by Step
Step 1 – Paint the flat base layer
Start by creating a tranquil foundation for your cloud. Select a serene shade of light blue and apply a smooth, even base layer across your canvas. This initial step is crucial, as it sets the tone for the sky and provides a uniform backdrop for the intricate details of your cloud.

Step 2 – Define the futlines of the cloud
Now, take a moment to envision the cloud’s final shape. With a light touch, gently outline its expansive form onto the canvas, using a slightly darker shade. This will define the cloud’s boundaries and give you a visual framework for adding volume and texture in the subsequent steps. The outline should be fluid and organic, mimicking the natural, free-form shape of a cloud in the sky.

Step 3 – Add the initial shadow
Introduce a soft shadow to your cloud by blending a gradient of blues just below the outlined edges. This layer of color adds the first level of volume, separating the parts of the cloud that are below the mass and less touched by light. Use a mixture of blues to create a realistic effect, but don’t add too much gradients and details. Just separate the light from shadow.
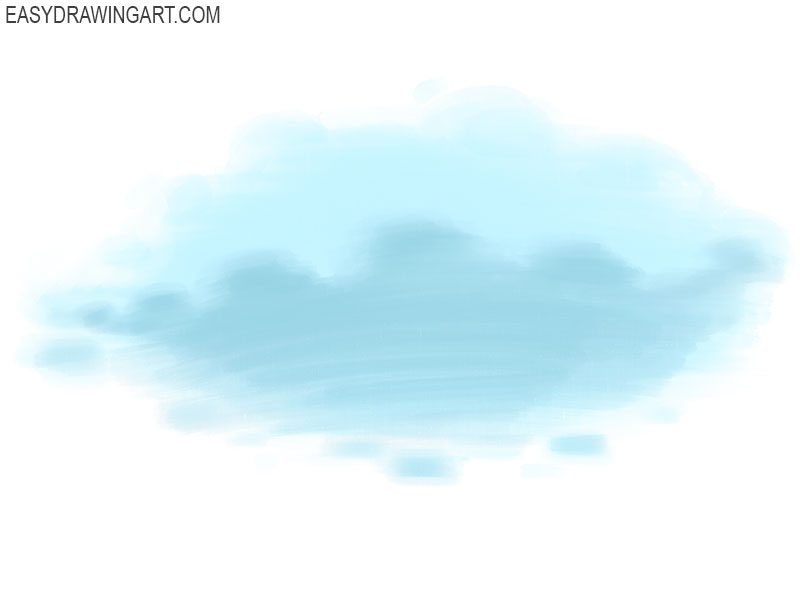
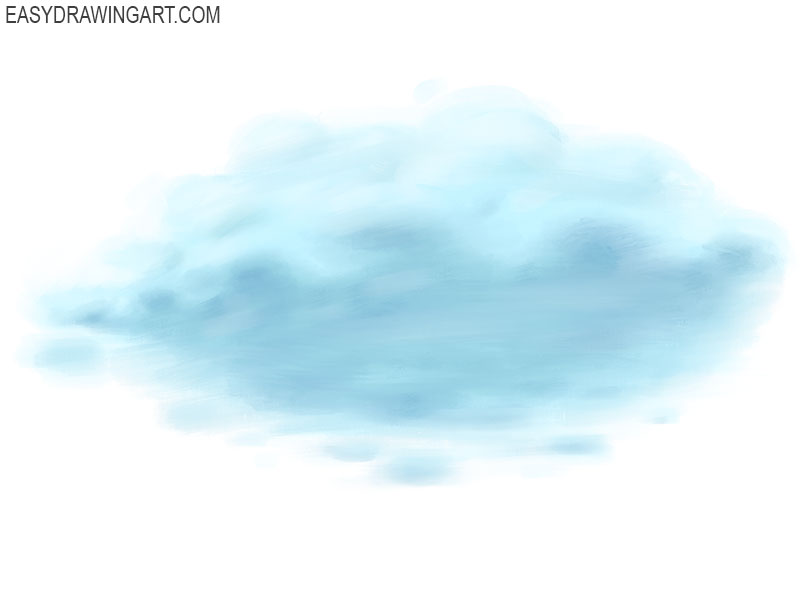
Step 4 – Paint the core shadow of the cloud
Deepen the sense of volume by applying core shadows. These are the darkest areas of the cloud, found in the recesses and folds of its form. Use a concentrated mix of blue and grey to convey this part of the cloud, being mindful of where the light source is and where the darkest shadows would naturally fall.
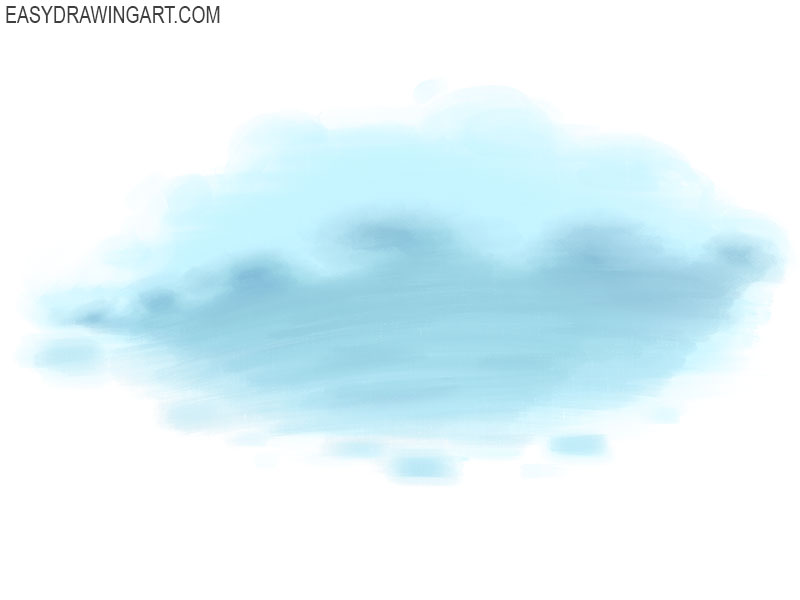
Step 5 – Add some texture
Up to this point, the clouds may have looked overly smooth, giving them a cotton-like appearance. To make them more realistic, introduce texture using soft but slightly varied brushstrokes and small shifts in tone. Keep the volume in mind, and maintain clear contrast between the shadowed areas and the illuminated parts. Make the shadows underneath and within the cloud more pronounced by using a darker tone, while simultaneously adding lighter tones to the areas where the light hits the cloud.
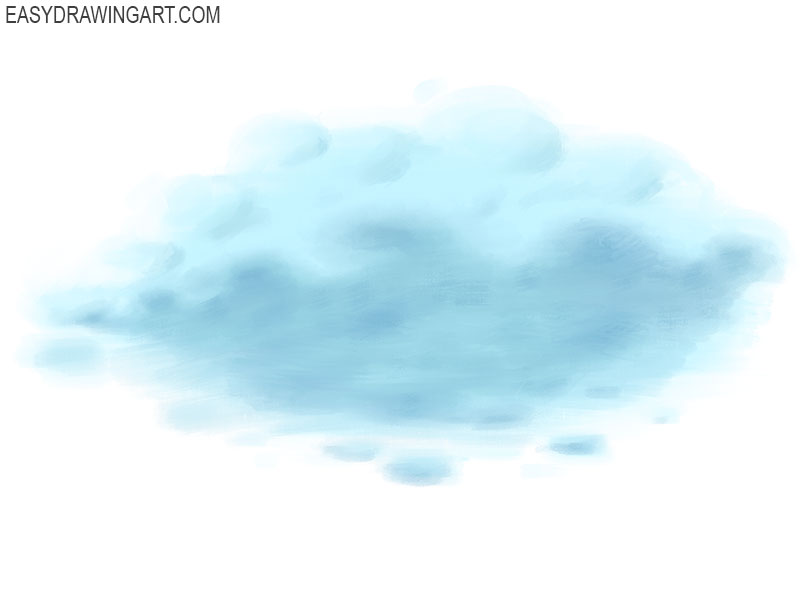
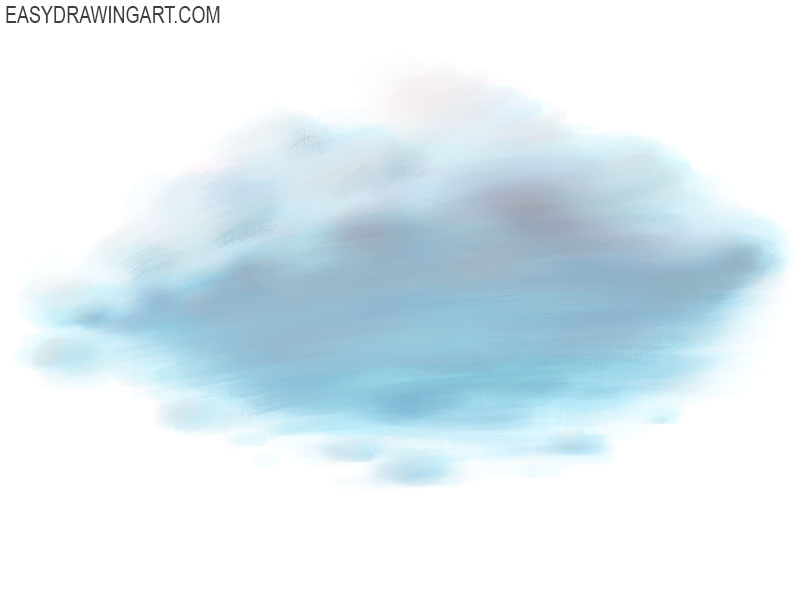
Step 6 – Paint highlights on the cloud
With the cloud’s shape and volume defined, it’s time to add highlights – the lightest areas of the painting. Using a fine brush and a lighter shade, gently apply highlights along the top edges and ridges where the light would naturally strike the cloud the most. These highlights should be subtle yet bright enough to show a soft glow from the light source.
Step 7 – Add the final touches to your cloud painting
In the final step, enrich your cloud painting with the warm colours of the sun. Gently layer hues of yellow, pink, or orange along the areas of the cloud that the sunlight would illuminate. These colors should be blended seamlessly into the existing highlights, creating a realistic and beautiful effect of a cloud lit by the early morning or late afternoon sun.
To summarize this cloud painting lesson, achieving convincing skyscapes depends on understanding light, form, and smooth outlines.
Choosing appropriate materials also matters. Oils require longer drying times but allow smooth gradients and subtle transitions.
Acrylics dry faster and make it easier to keep edges clean. Gouache provides a matte surface with solid coverage, while watercolors rely on transparency and controlled washes. Digital tools give flexibility for adjusting color and shape without revising the entire piece.
Lighting remains one of the most important elements. Establish your light source early and apply shadows and highlights consistently. Smooth transitions take practice, so working with gradual changes in value is essential for maintaining a natural look.
Contrast also plays a major role. Clear differences between light and dark areas help define the cloud’s shape and suggest depth in the sky. Adding small color variations influenced by the environment or sunlight can strengthen the overall effect.
For a more interesting and detailed effect, you can paint a full-fledged landscape with clouds in the background, forest and mountains.
Continue refining your observation skills by studying the sky in different conditions and at different times of day. Careful observation remains one of the most reliable tools for improving accuracy and confidence in cloud painting.