How to Draw a Refrigerator
In this lesson you will learn how to draw a refrigerator. Completing this tutorial will be a great exercise for your creativity.
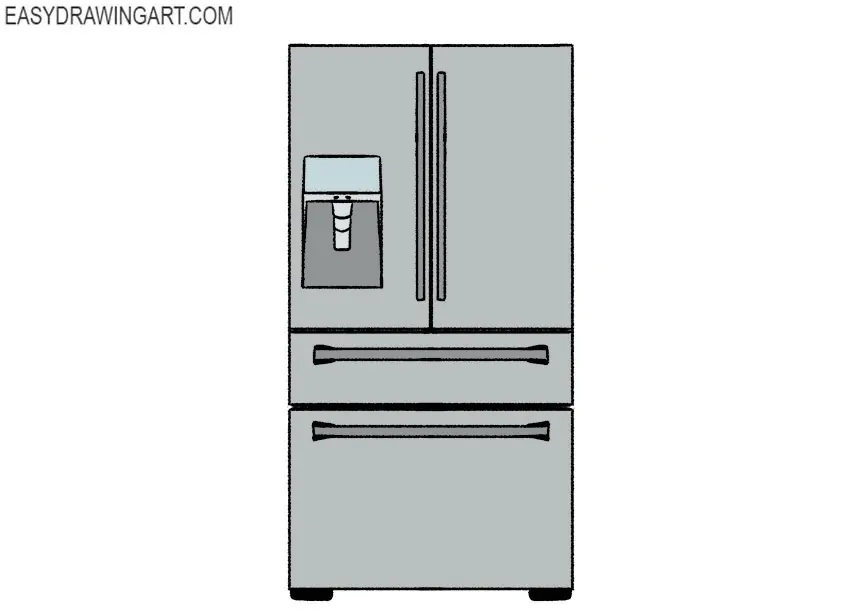
The Easydrawingart.com team has prepared for you a fun lesson on how to draw a refrigerator step by step. This device maintains a low temperature and is used to store food or other items that require storage in a cool place.
In the figure, the refrigerator has several refrigerating chambers. In this lesson you will draw simple geometric shapes. During the work, you can use any available tools or draw all the lines yourself. So let’s get started with a refrigerator drawing tutorial that you will really enjoy.
How to Draw a Refrigerator Step-by-Step
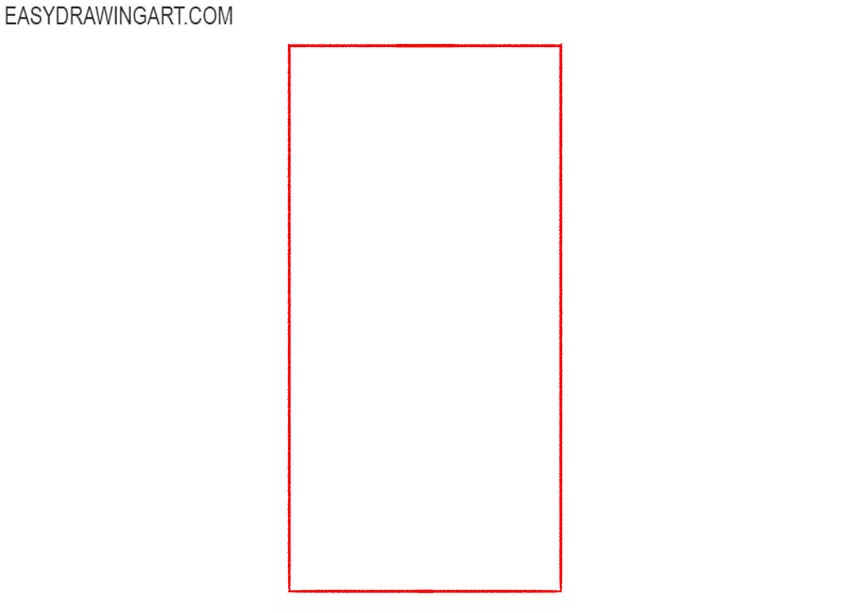
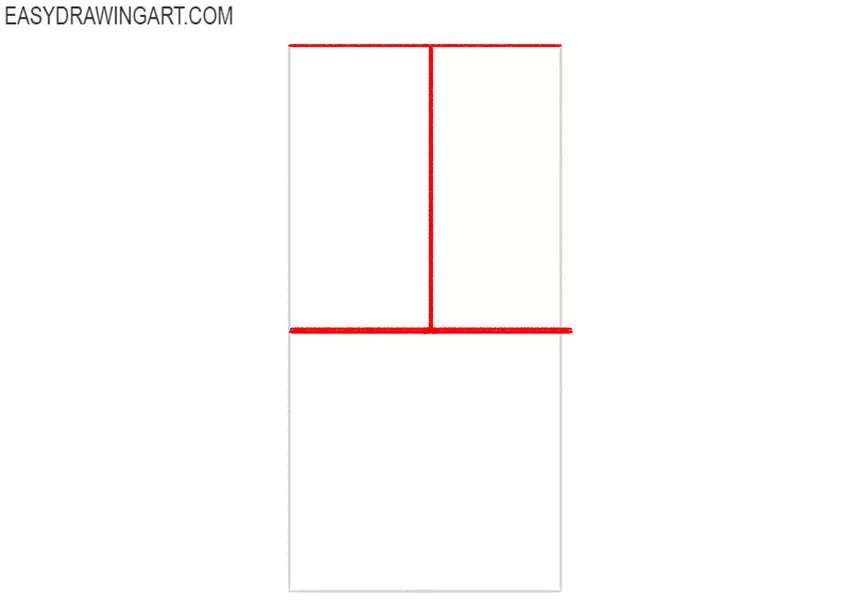
Step 1: Prepare the base of the refrigerator
Determine the size of your future refrigerator drawing, using a few straight lines to sketch an even rectangle. Try to draw this geometric figure evenly, take your time. You can adjust the shape and height of your refrigerator.
Step 2: Draw the top section of the refrigerator
Using the rectangle from the previous step as a guide, sketch horizontal lines to create the contours of the upper section of the refrigerator. Draw a straight vertical line in the middle. Also, ensure to maintain symmetry.
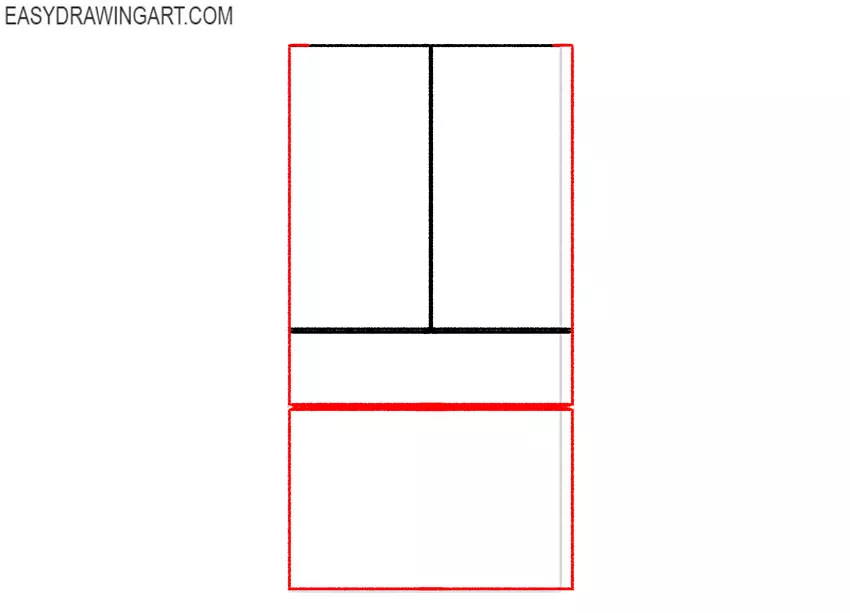
Step 3: Refine the shape of the refrigerator
Now, give the shape of your refrigerator drawing a finished look with straight lines. Make the remaining contours of the refrigerator clearer and more finished. Draw the bottom section with a horizontal line.
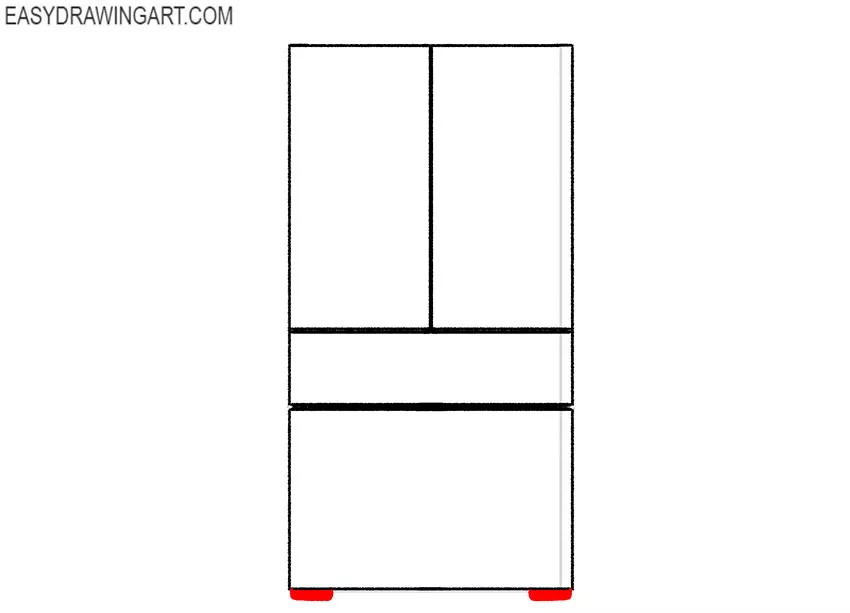
Step 4: Draw the refrigerator legs
The legs of the refrigerator should look like two rectangular or circular shapes. Make the legs equal in shape and site, maintaining the symmetry on both sides. You can leave the legs blank, or color them as in our example.
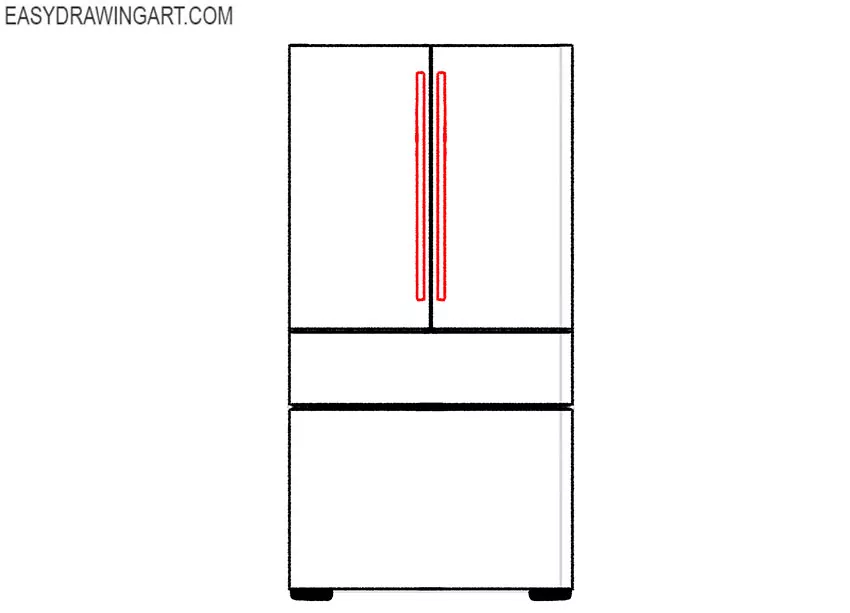
Step 5: Add the upper handles
Using straight vertical lines, draw two thin, elongated handles at the top of the refrigerator. The handles should be the same width and length. The handles can have any other shape and location.
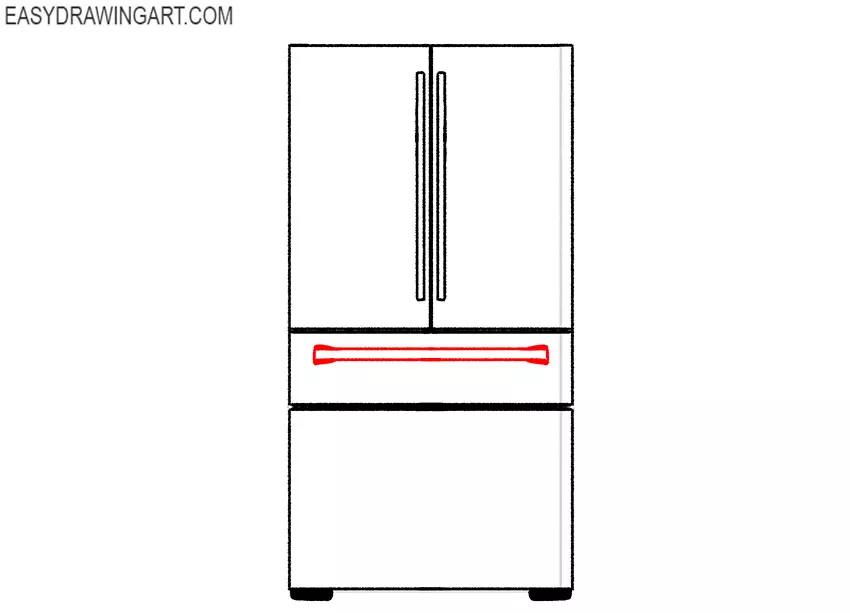
Step 6: Sketch the middle handle
Continue adding refrigerator elements and draw a large handle on the middle compartment in the shape of thin elongated rectangle. You can adjust the shape and placement of the handles.
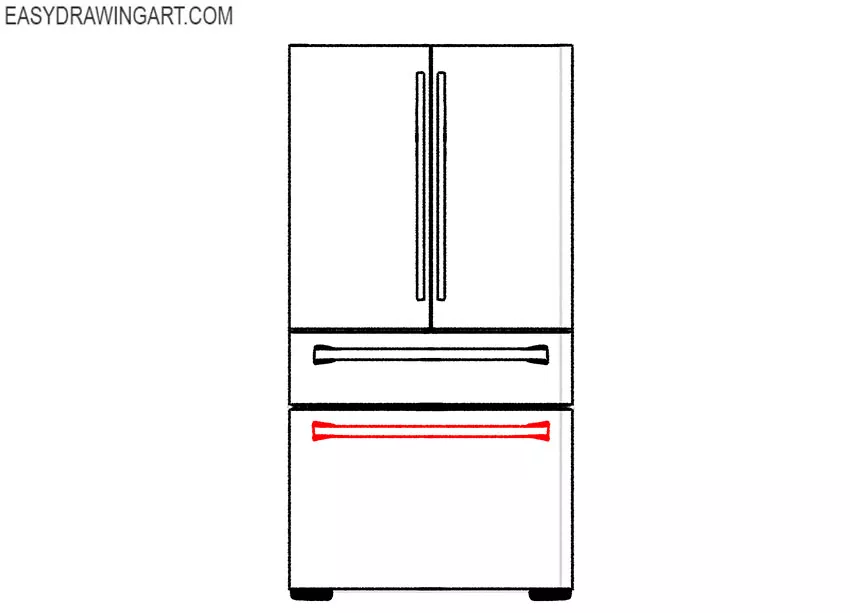
Step 7: Draw the lower refrigerator handle
Detail the bottom of the refrigerator and in this step and draw the handle the same size as in the previous step. As with the previous handles, you can adjust the size and placement. It should repeat the previous handle in look.
Step 8: Start sketching the ice dispenser section
At the top left section of the refrigerator, add a rectangular compartment that will hold a water dispenser. For straight lines, you can use a ruler. Divide this section using a short horizontal line for a more detailed look.

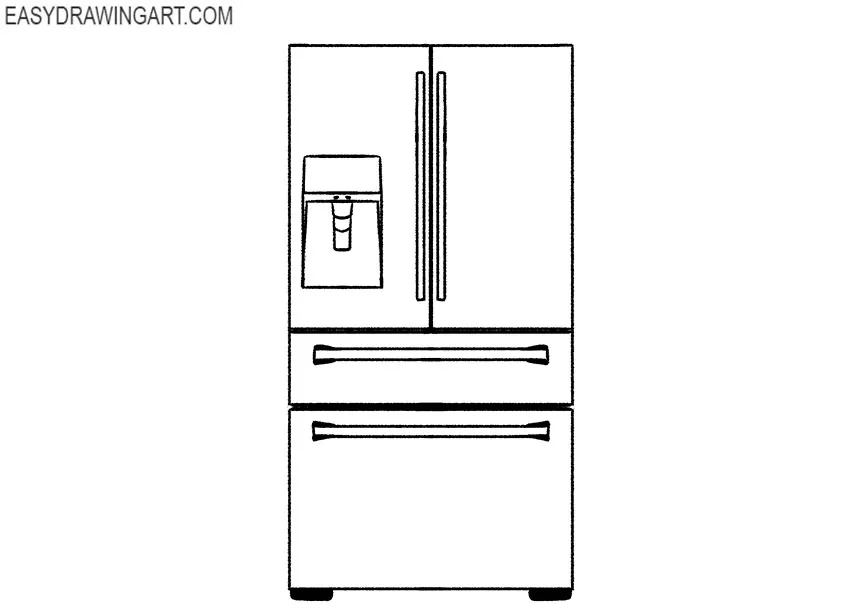
Step 9: Detail the ice dispenser section
The main outlines of the ice dispenser are ready, and now it remains to add details. Draw the vertically oriented water dispenser as shown in our drawing. At this step, you can add any other small details.

Step 10: Correct any inaccuracies
Look carefully at your refrigerator drawing and if you notice any mistakes, correct them at this stage. Be careful at this stage and prepare the drawing for coloring. Also, it’s a great time to add finishing touches.
Step 11: Color the drawing of the refrigerator
To color the refrigerator drawing you will need different shades of gray. Make the body lighter gray, and the handles a bit darker shade. Add the shadows and highlights to make your drawing look more realistic.

Now you have completed all the steps in this instruction and know how to draw a refrigerator. Now that your refrigerator drawing is complete, try sketching other models or add small details like magnets, notes, or even food inside if you want to practice variations.
Also, we will be very glad if you share this tutorial with your friend and leave a comment below and check our computer drawing tutorial. You can also continue drawing other kitchen appliances – check out our tutorials on how to draw a microwave or a simple stove.
If you liked this tutorial, share it with others, check out more home item drawing lessons, and follow us on social media for updates. We will be glad to see you among our subscribers on social networks.